Testing of Angular 4 apps using Angular IDE

Testing is one of the most important aspect of the modern application development process. Angular app testing is really required to point out the bugs and errors that were made during the development phases. Nobody likes a buggy application. A proper testing should be done before providing it to your clients or customers.
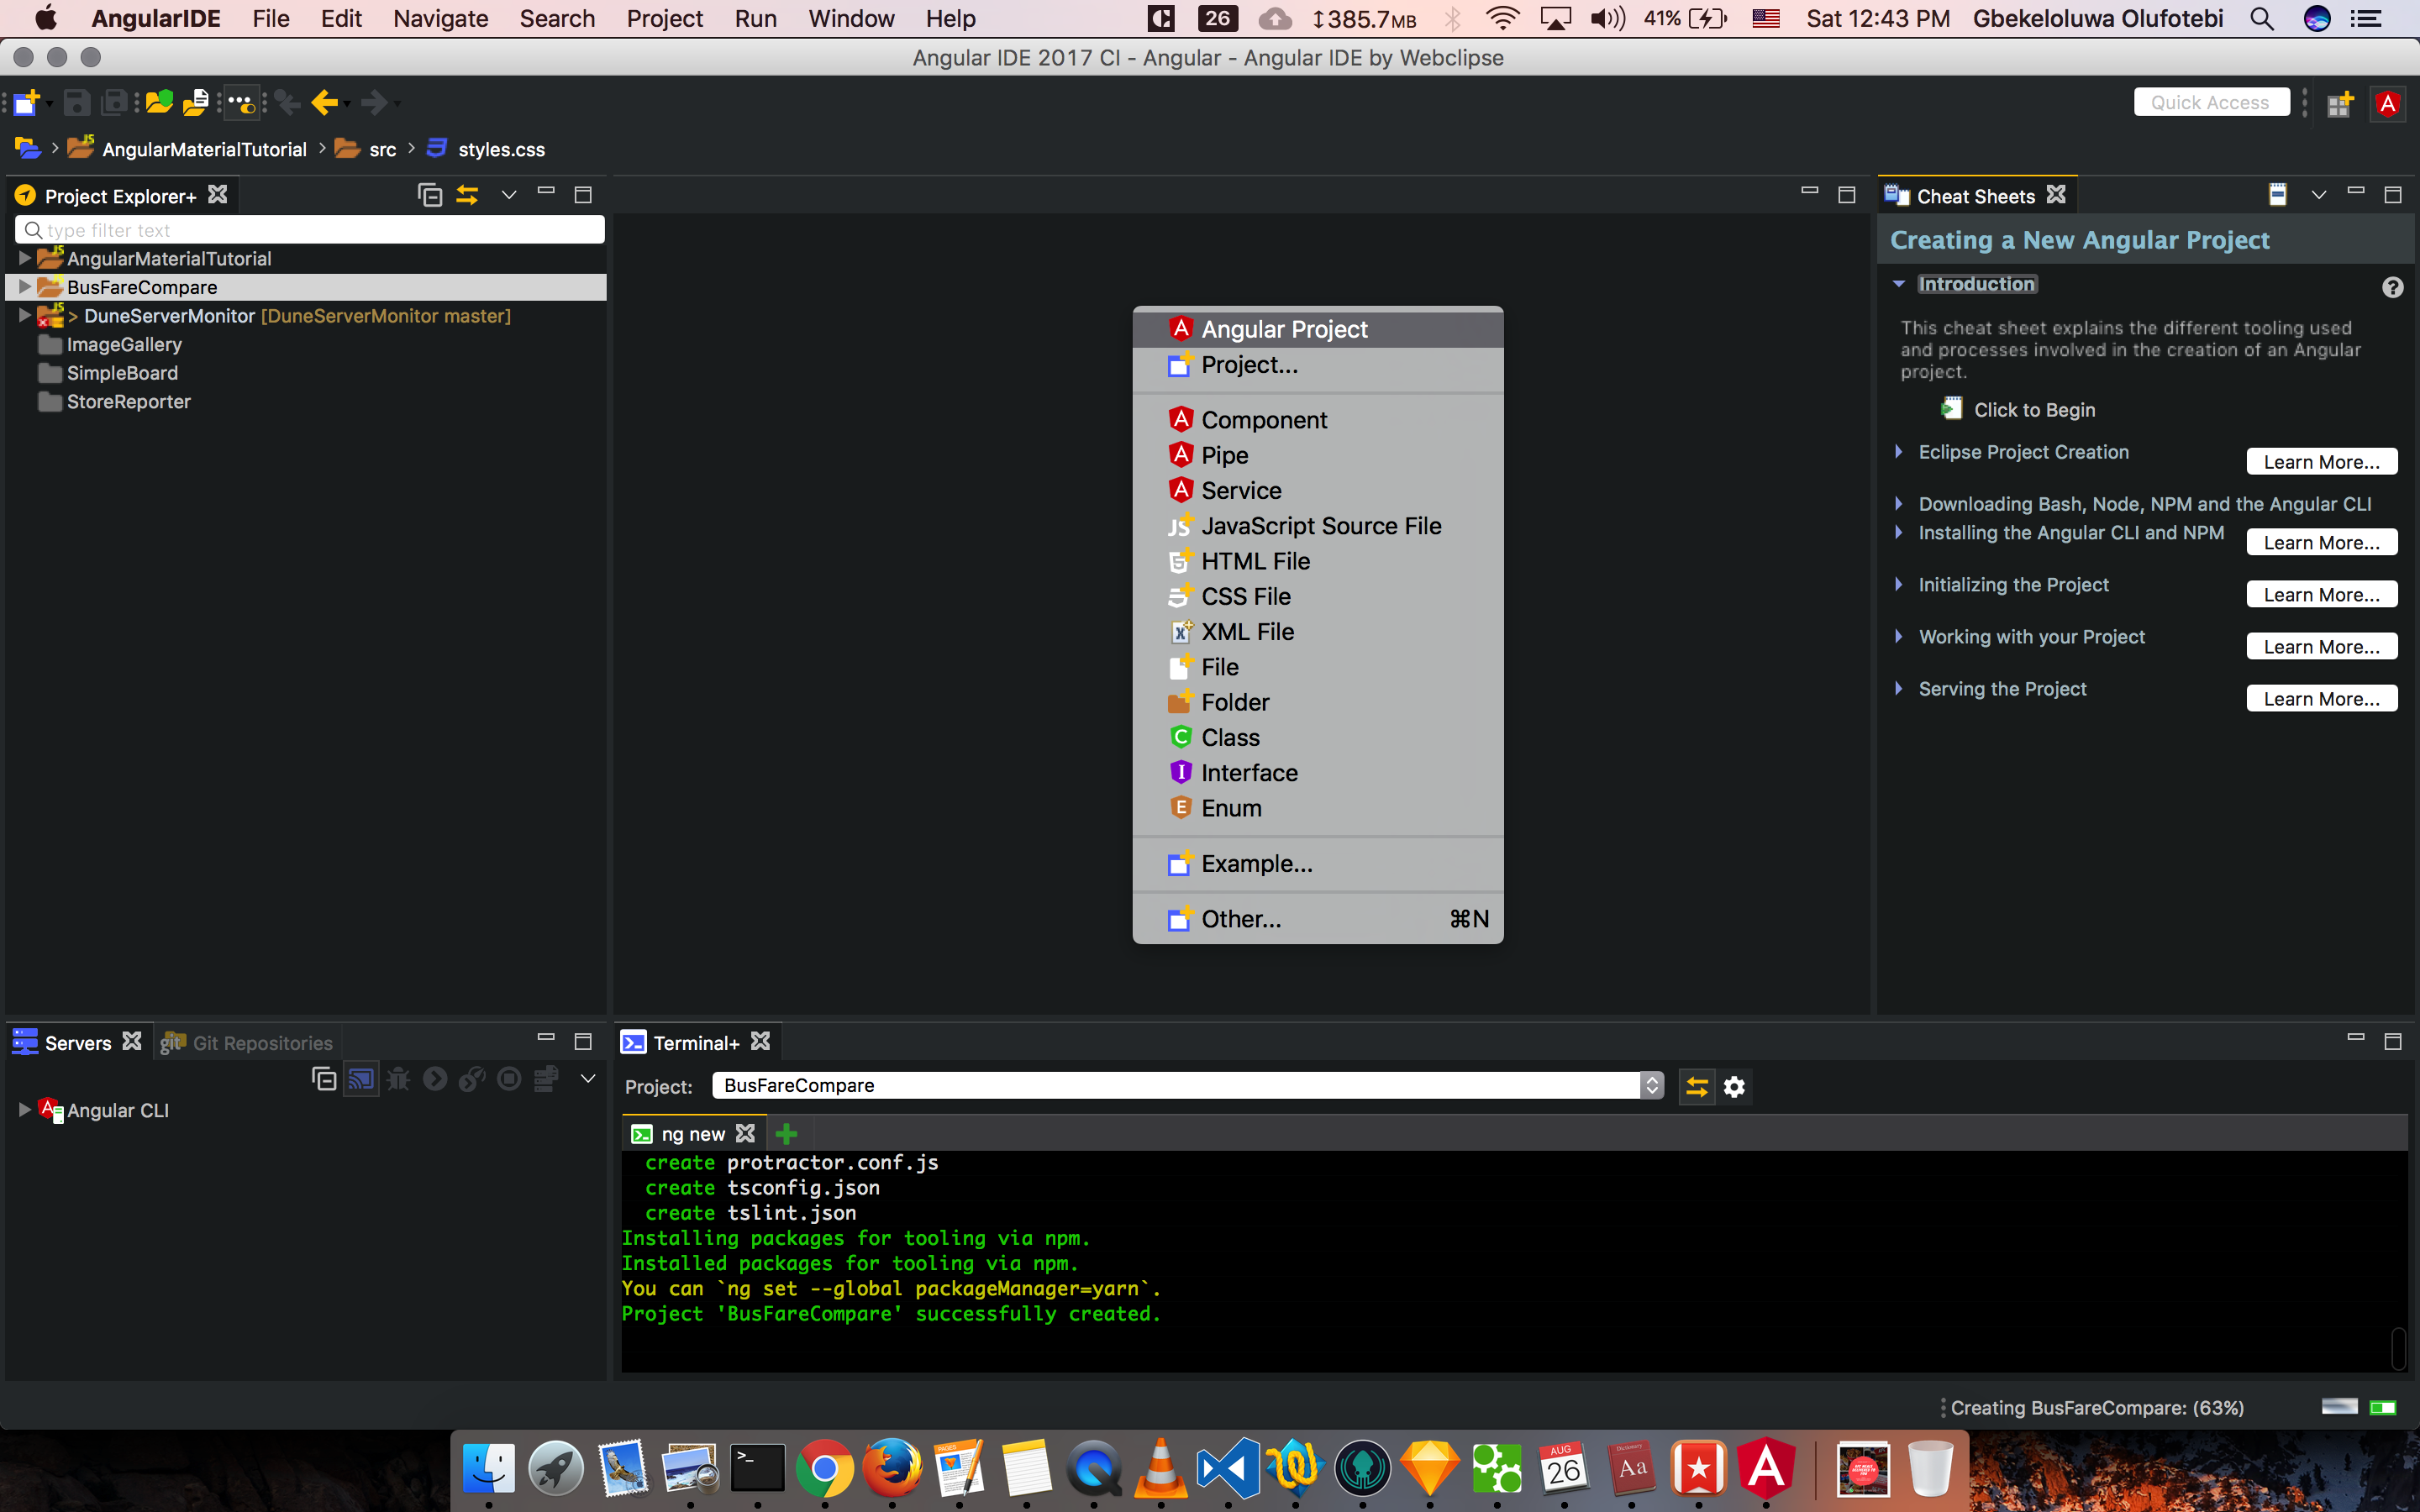
Creating a New Angular Project
Let’s get started by firing up our Angular IDE and creating a new Angular project named Angular1
Now you will see the New Angular Project wizard where you can select the Node.js, NPM and Angular CLI versions. In the New Angular Project wizard, enter Angular 1 as the project name and select Angular CLI version 1.1.0, Node.js version 7.10.0 and NPM version 4.6.1.
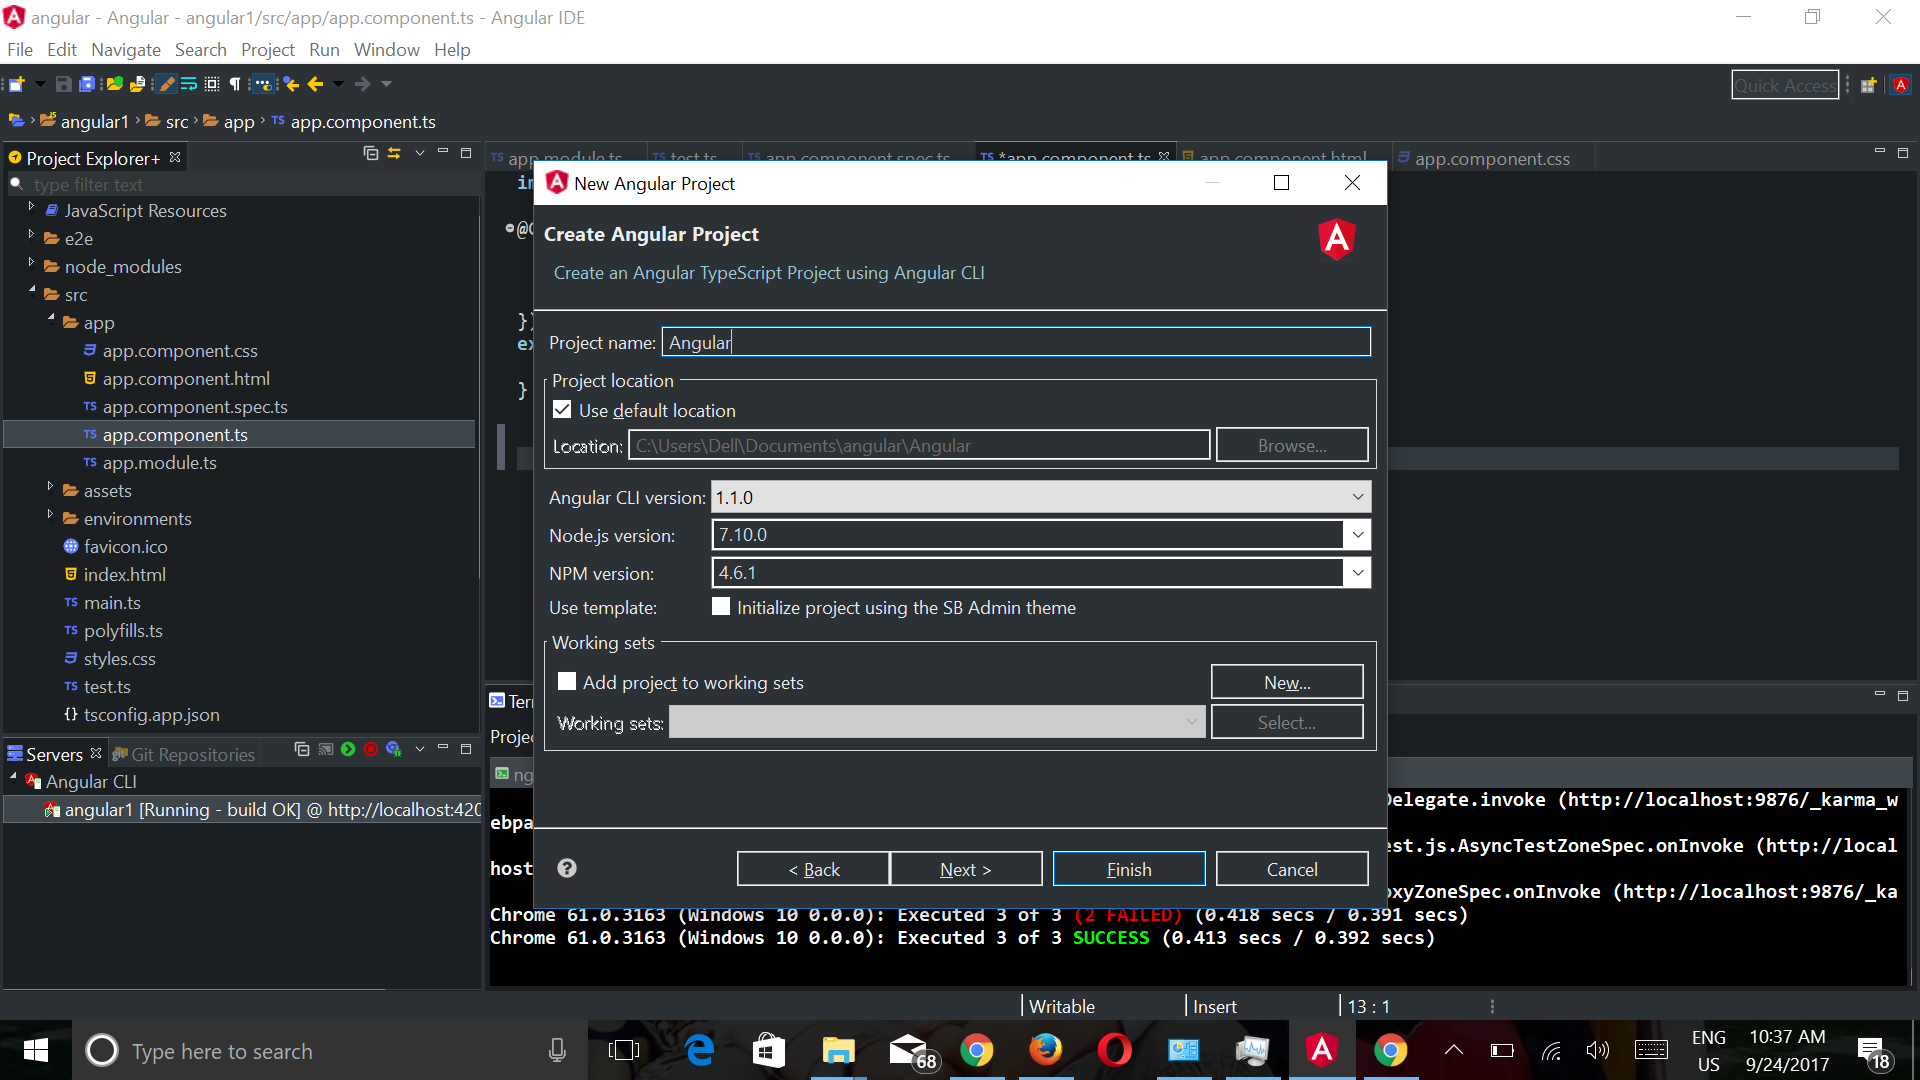
Finally, click Finish to complete the creation of a new Angular 4 project. In the Terminal+ view, you can see several commands being executed by Angular CLI. After the installation of all the modules, we are now ready to continue with our project.
Starting the server
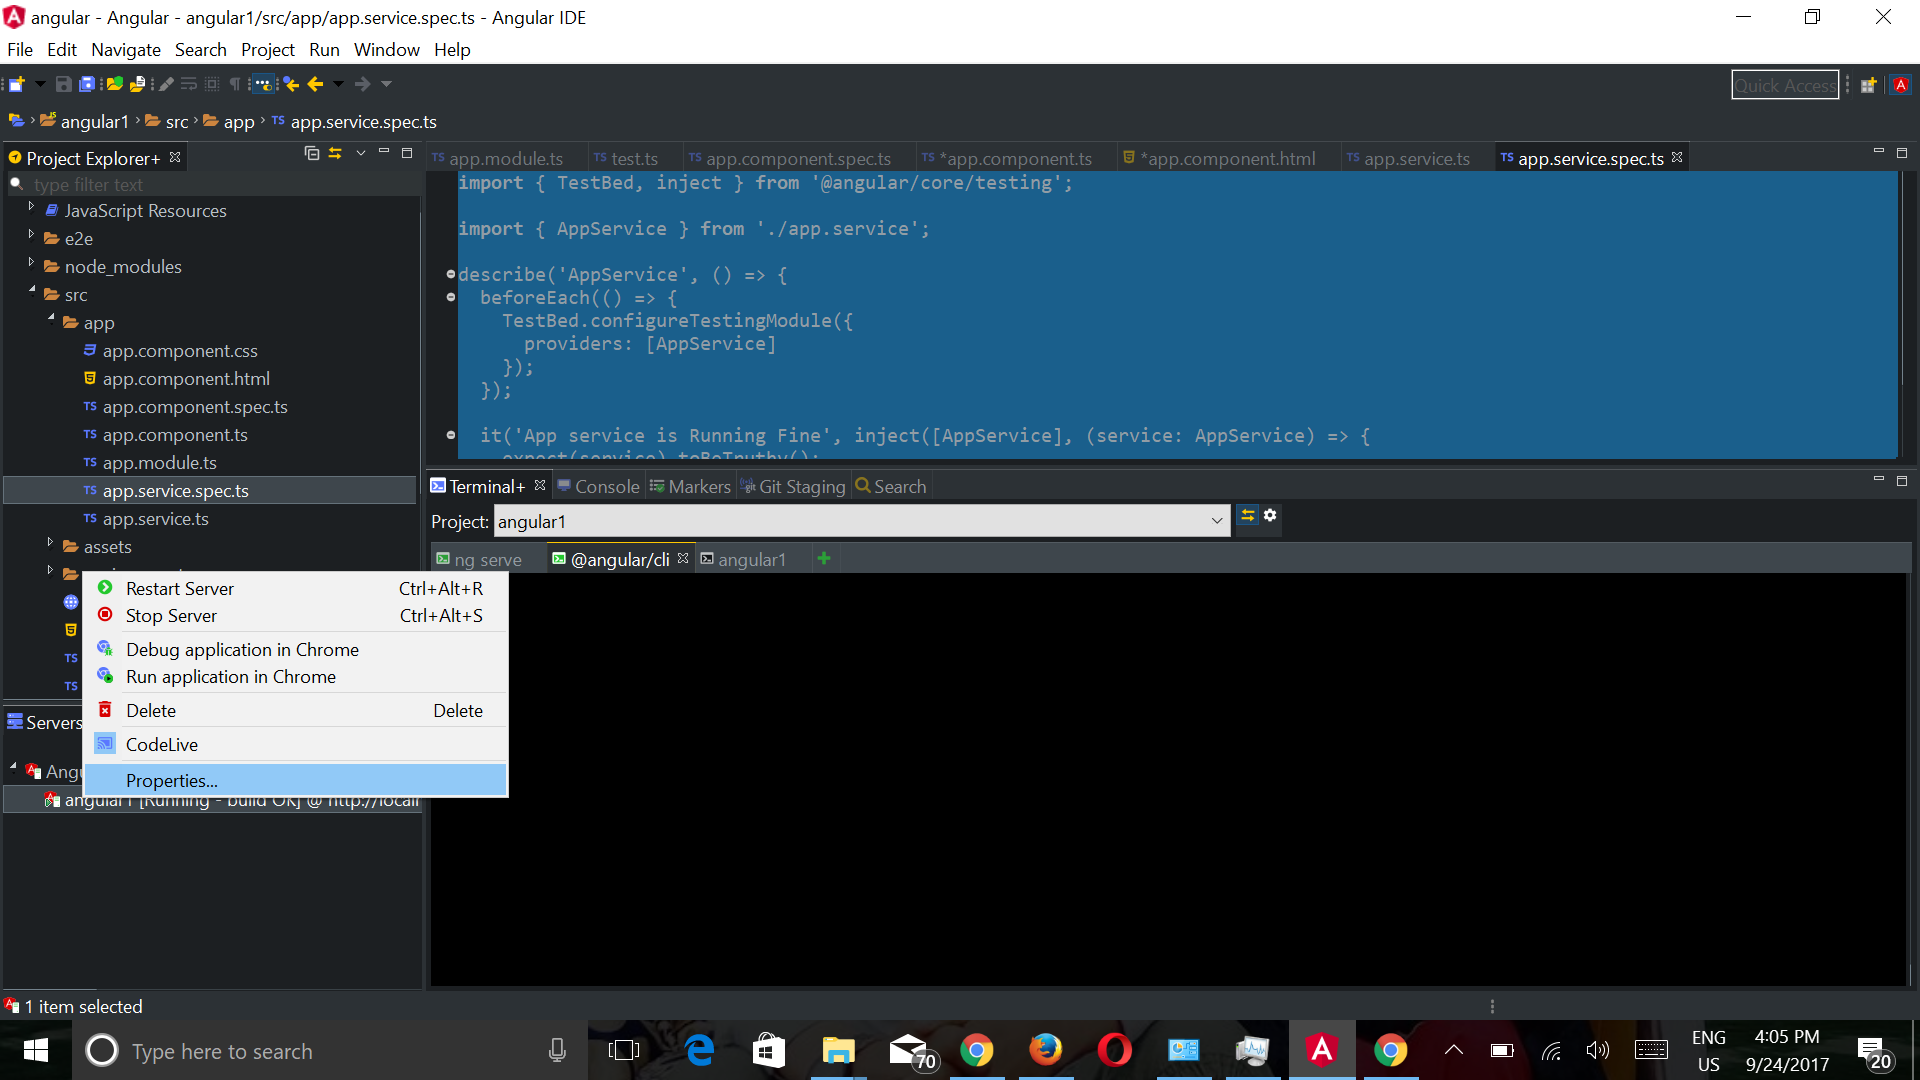
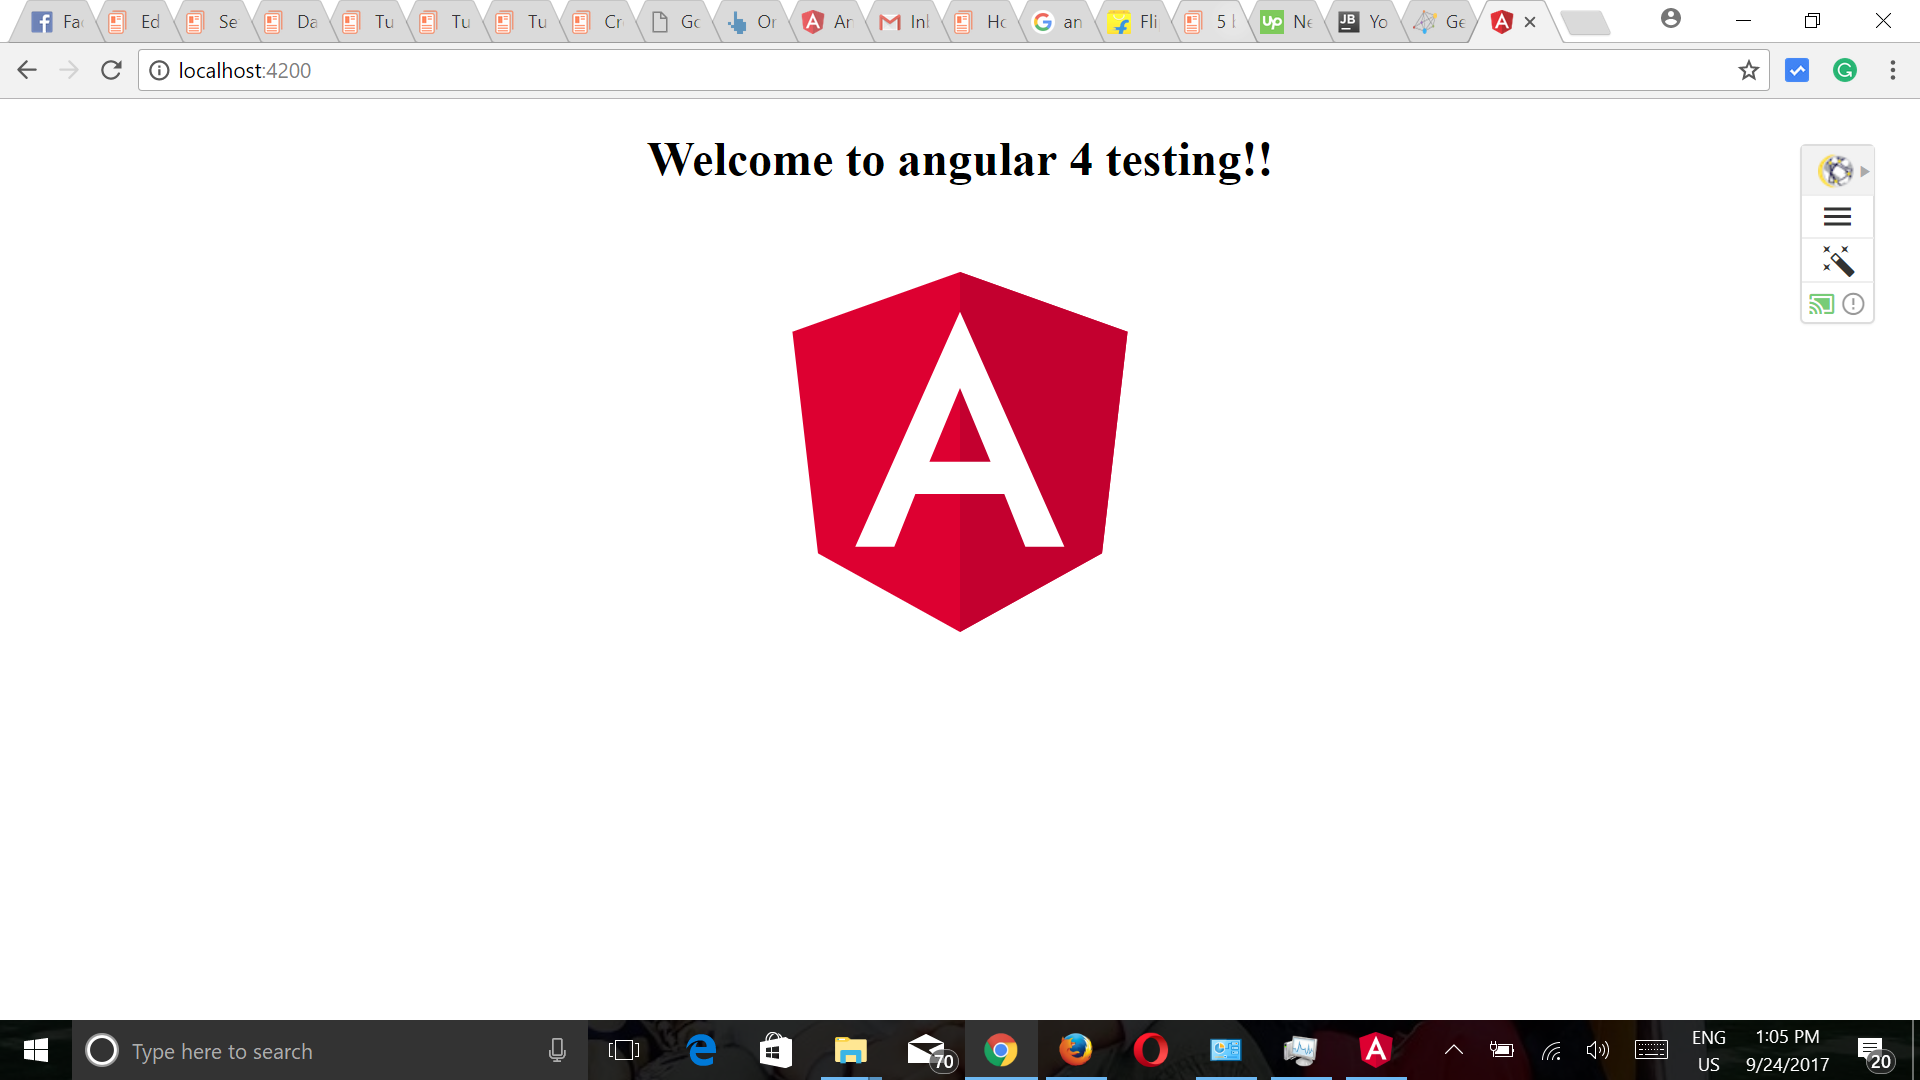
There is a server view in Angular IDE, as shown in the below image. To open it click on the Window menu item and select Show view. Then select Servers. Right click on your project (here Angular 1) and select Start Server. Angular IDE serves the application on localhost port 4200 by default. So open up http://localhost:4200 in your browser to see the running app.
You should see a screen like the one below at http://localhost:4200.
Important Notes
- When we created project using the AngularIDE, the Jasmine framework is automatically included in the project with Karma.
- Jasmine have Default integration with Karma.
- Karma: This is the test runner for JavaScript
- Jasmine: This refers to the behavior-driven JavaScript testing framework
- To test if something evaluates to
true, you use thetoBeTruthymatcher TestBedis the most important testing utility provided by Angular. It creates an Angular testing module (an @NgModule class), which we can use for our testing purposes.- you can learn more about TestBed here.
Why Karma
Karma is not a framework to write tests , it is a test runner. Karma gives us the ability to run tests in several different browsers in an automated way. Karma Makes it easy to integrate with a continuous integration server. Karma Requires additional tools like jasmine which comes Default integration with Karma.
Why Jasmine
Jasmine is a javascript testing framework that supports a software development practice called Behaviour Driven Development, or BDDfor short. It’s a specific flavour of Test Driven Development (TDD). It does not require a DOM. And it has a clean, obvious syntax so that you can easily write tests.
describe(" dunebook Jasmine example", function() {
 it("This is a spec that defines test", function() {
 expect statement // asserts the logic etc
 });
});
Let’s understand the above code snippet
- Every Jasmine test suite will have a
describestatement, where we can give a name. - We have created a small test case using
itstatement. - We used the
expectstatements to verify the data.
Testing in Angular 4
Creating the Angular Component
The file named src/app/app.component.ts is the component file and it’s content is below:
import { Component } from '@angular/core';

@Component({
 selector: 'app-root',
 templateUrl: './app.component.html',
 styleUrls: ['./app.component.css']
})
export class AppComponent {
 title = 'angular 4 testing';
}
Let’s Understand the above code snippet:
AppComponentcomponent class was created by default.- We changed default
titlevariable with a new value. - We mapped the component’s template and style files to their respective
templateUrlandstyleUrls.
the app.component.html, file contains the following code
<div style="text-align:center">
 <h1>
 Welcome to {{title}}!!
 </h1>

</div>
In the above code, we are adding a <h1> tag and mapping the title variable.
the app.component.spec.ts, file contains the following code. This file is responsible for testing.
import { TestBed, async } from '@angular/core/testing';

import { AppComponent } from './app.component';

describe('AppComponent', () => {
 beforeEach(async(() => {
 TestBed.configureTestingModule({
 declarations: [
 AppComponent
 ],
 }).compileComponents();
 }));

it('it should work well', async(() => {
 const fixture = TestBed.createComponent(AppComponent);
 const app = fixture.debugElement.componentInstance;
 expect(app).toBeTruthy();
 }));

it(`should have as title 'angular 4 testing'`, async(() => {
 const fixture = TestBed.createComponent(AppComponent);
 const app = fixture.debugElement.componentInstance;
 expect(app.title).toEqual('angular 4 testing');
 }));

it('should render title in a h1 tag', async(() => {
 const fixture = TestBed.createComponent(AppComponent);
 fixture.detectChanges();
 const compiled = fixture.debugElement.nativeElement;
 expect(compiled.querySelector('h1').textContent).toContain('Welcome to angular 4 testing');
 }));
});
Let’s understand the above code snippet in detail:
- We have imported the required modules namely TestBed and async from angular/core/testing.
- In the first test script, we wrote a simple expect statement for the component, tobeTruthy.
- In the second test script, we created an instance of the component via TestBed.createComponent.
- Using debugElement, we created the instance of the created component, that is, app.
- Using the instance of the app component we are able to get the title of the component and assert toEqual to check whether the title is equal to Angular 4 testing.
- In the last test script, we used debugElement.nativeElement method and target <h1>. Here we are checking if <h1> contains Welcome to angular 4 testing.
- The difference between the second and third test script is that in third script we are waiting for changes to be detected by using the detectChanges method.
Creating Angular Service
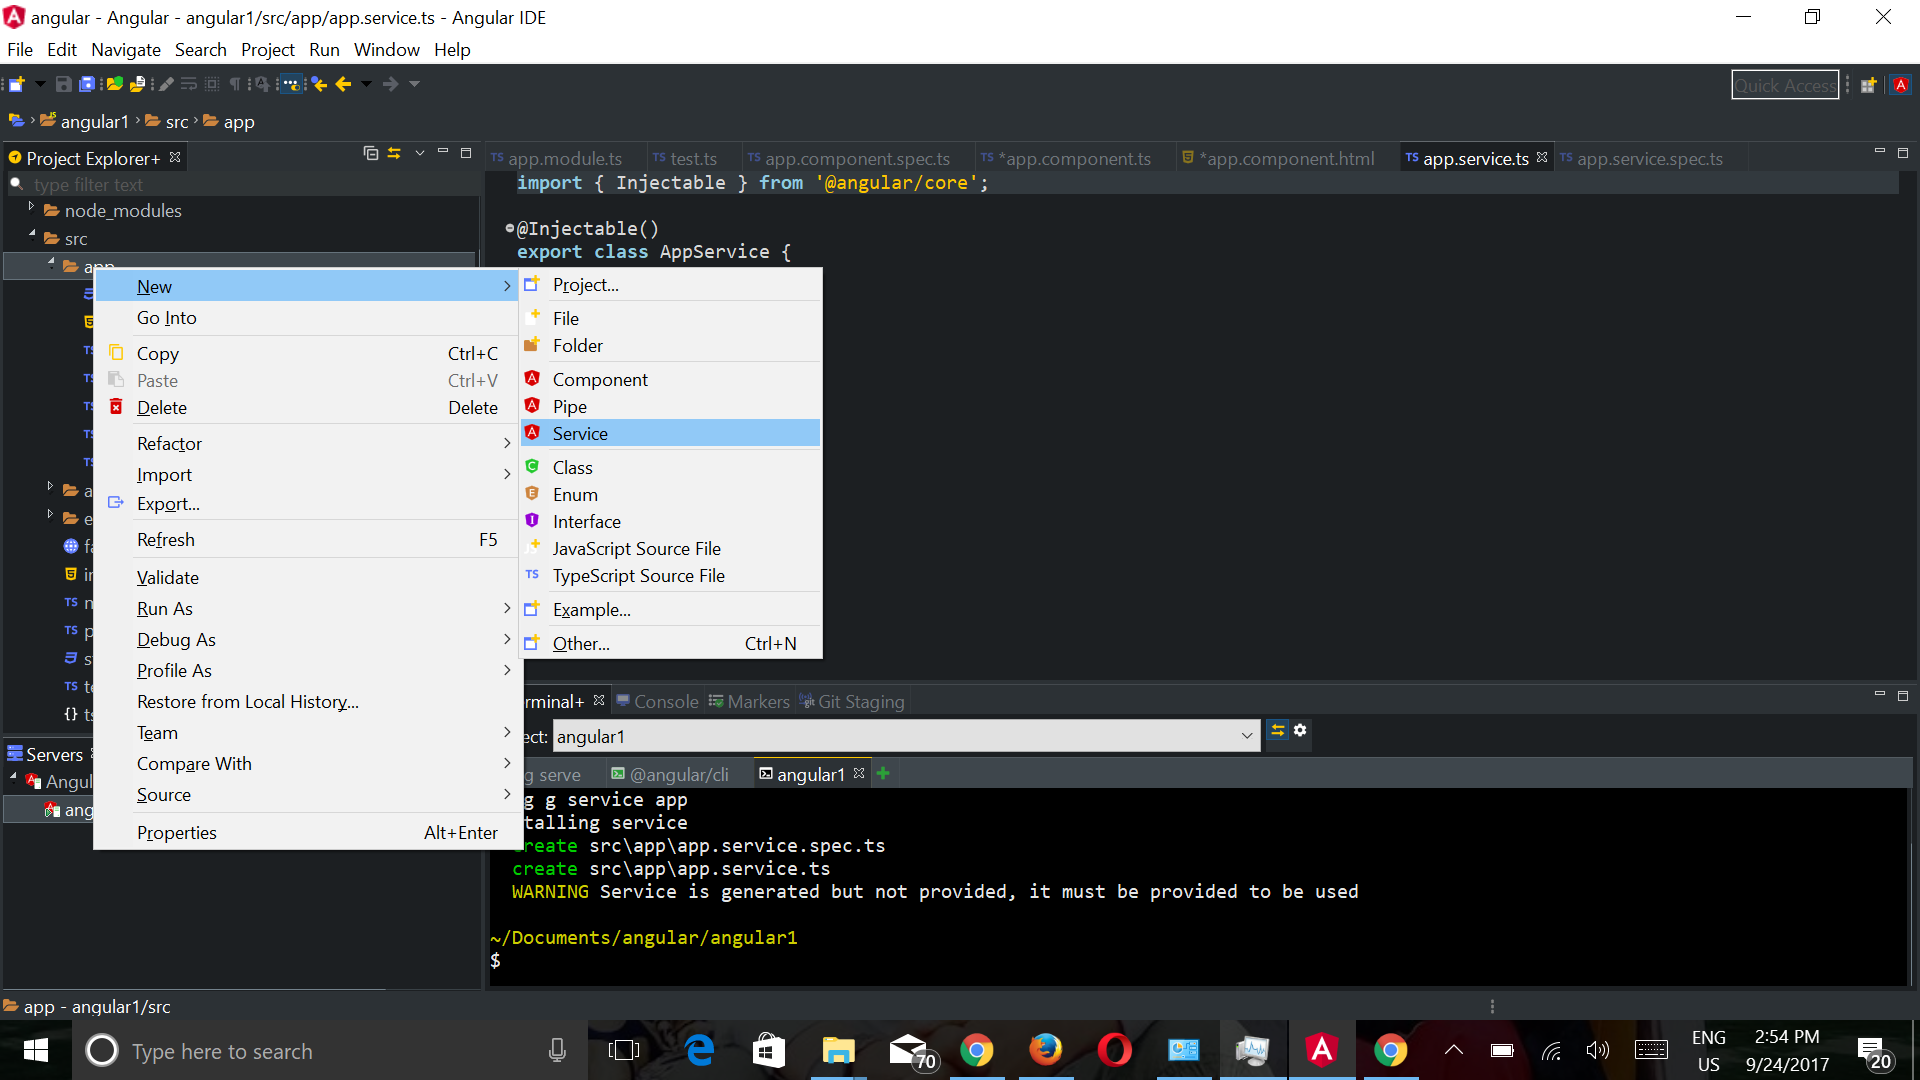
To create a new Angular Service in Angular IDE, we use the menu File > New > Service.
The file named src/app/app.Service.ts is the Service file and it’s content is below:
import { Injectable } from '@angular/core';

@Injectable()
export class AppService {

constructor() { }

}
In the above code snippet We imported the injectable from Angular core.
The app.service.spec.ts file is responsible for testing and it contains the following code –
import { TestBed, inject } from '@angular/core/testing';

import { AppService } from './app.service';

describe('AppService', () => {
 beforeEach(() => {
 TestBed.configureTestingModule({
 providers: [AppService]
 });
 });

it('App service is Running Fine', inject([AppService], (service: AppService) => {
 expect(service).toBeTruthy();
 }));
});
Let’s Understand the code snippet above :
- We imported the required modules TestBed and inject from core/testing.
- We imported the AppService service from app.service.
- Using Dependency Injection(DI), we created the service instance of AppService.
Testing our App
Angular IDE has a terminal view from which we can execute commands. So from the menu, select Window, then Show view and then click Terminal+. In the opened terminal, type the following command to run tests –
ng test
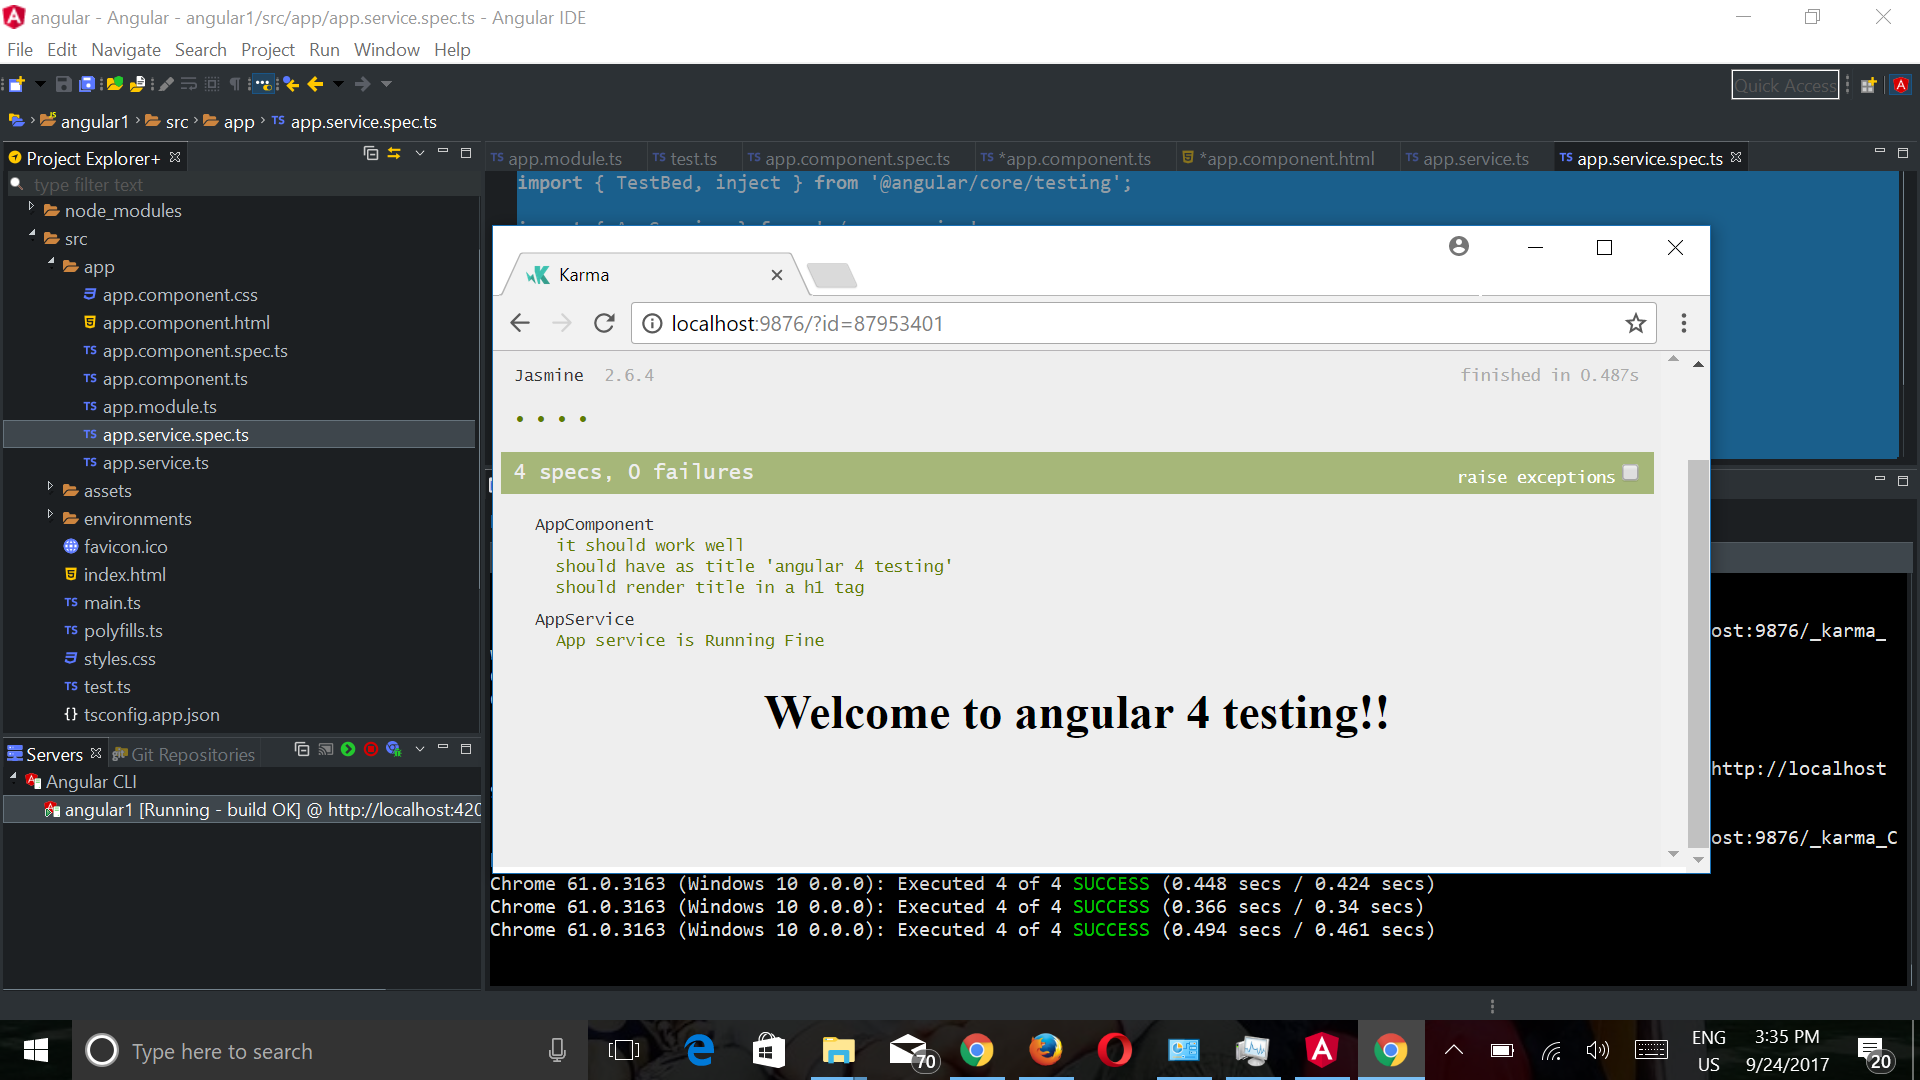
After running the test you will see the output as shown in the above screenshot.
Creating advanced Test
The file named src/app/app.Service.ts is the Service file , Replace the content as below
import { Injectable } from '@angular/core';

@Injectable()
export class AppService {

getTopicCount() {
 const Topics = [
 {name : 'laravel'},
 {name: 'angular'},
 {name: 'java'},
 {name: 'python'}
 ];
 return Object.keys(Topics).length;
 };
}
let’s understand the code snippet above
- We defined the getTopicCount method to return the count of Topic.
- we have inserted 4 values laravel , angular , java & python
The app.service.spec.ts file is responsible for testing and Replace the content with code below –
import { TestBed, inject } from '@angular/core/testing';

import { AppService } from './app.service';

describe('AppService', () => {
 beforeEach(() => {
 TestBed.configureTestingModule({
 providers: [AppService]
 });
 });

it(' Angular Service should return 3 values', inject([AppService],
 (service: AppService) => {
 let countTopic = service.getTopicCount;
 expect(countTopic).toBe(3);


 }));
});
let’s understand the code snippet above
- We create a test case; we need to inject the service, invoke the getTopicCount method, and assert whether the value matches to 3.
Re-Testing our App
In the opened terminal, type the following command to run tests –
ng test
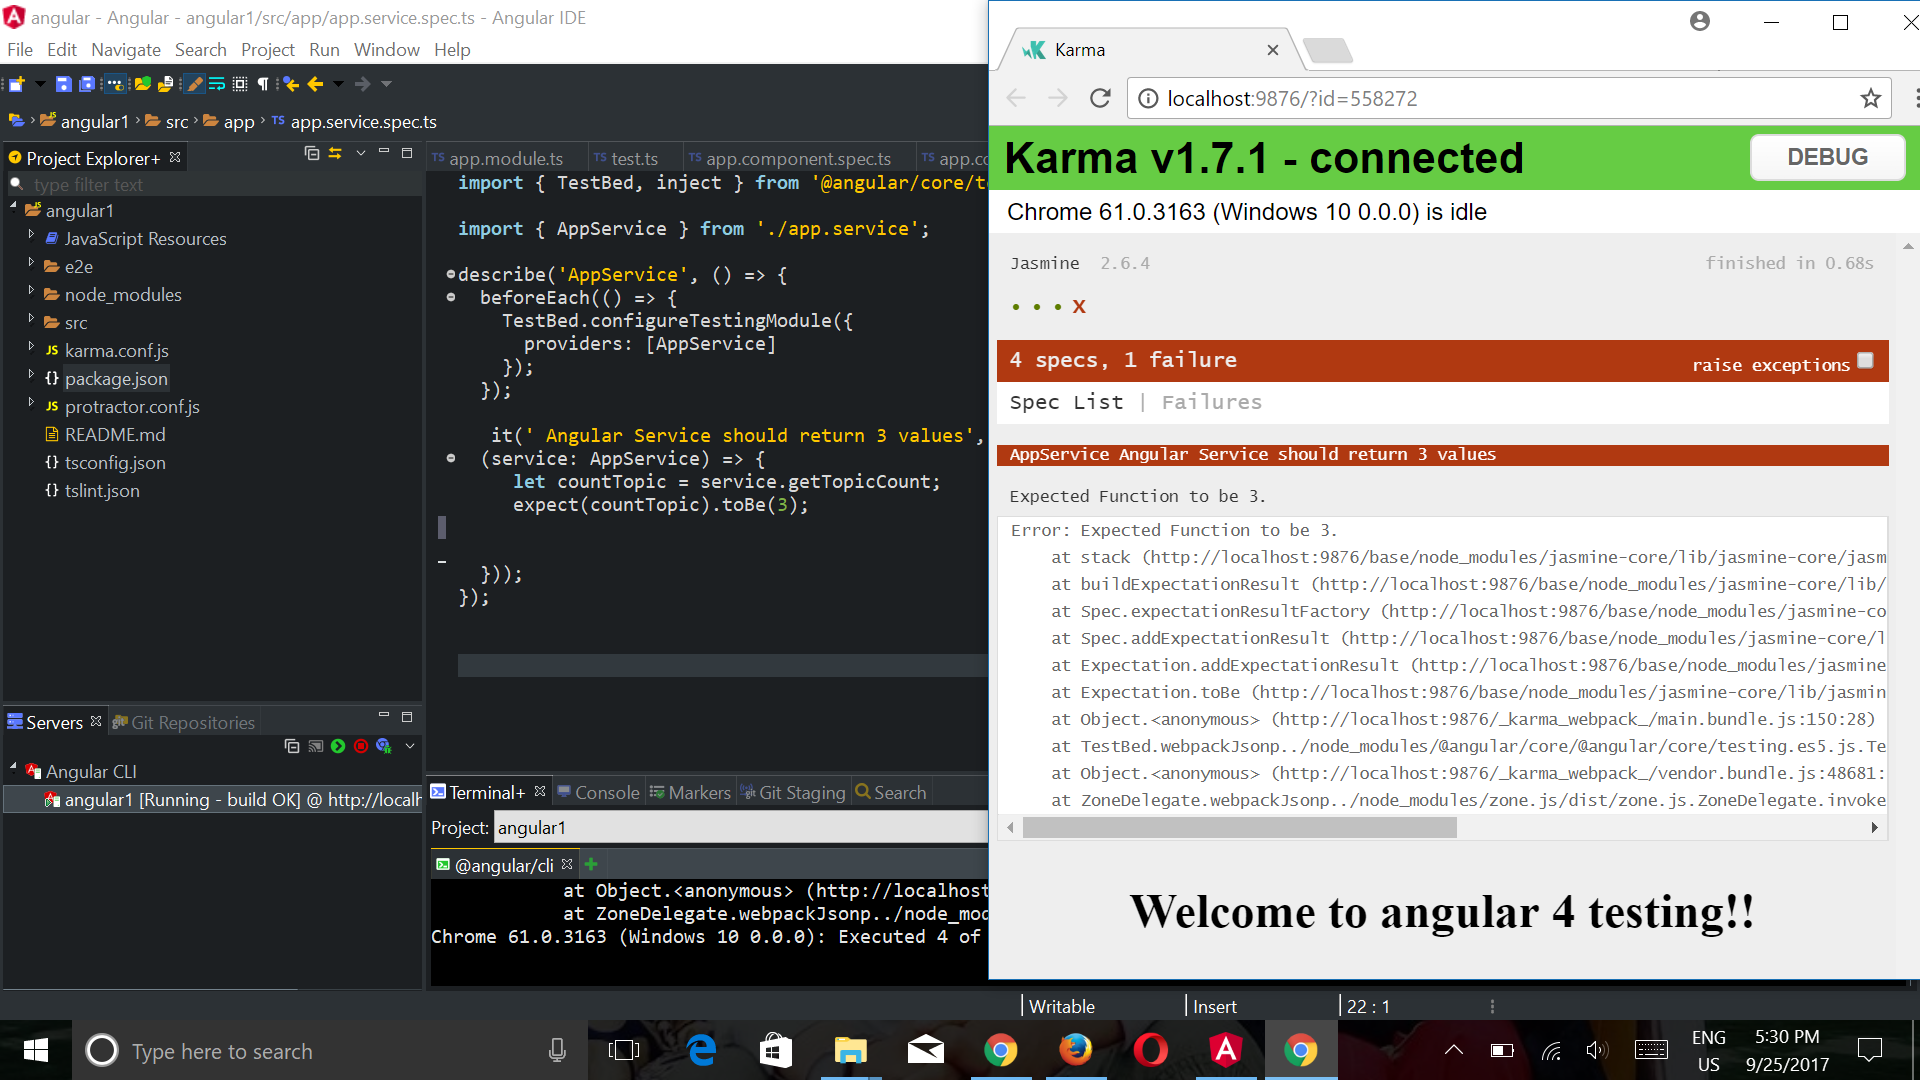
After running the test you will see the Failed output as shown in the above screenshot. it failed because we have 4 values in app.service.ts file & does not matches to 3. Removing one value from app.service.ts file will test our app successfully.
Conclusion
Testing is a crucial part of software development process. Bugs and crashes can defame the development company as well as hurt the clients too. Therefore a separate testing team is hired by companies to check the software from all the possible angles known to them. Angular IDE has an inbuilt testing tool known as Jasmine. Its a framework designed to test the Angular app. There are some syntax which are used against the output and compared with the desired value. It then displays the list of errors occurred during testing. AngularI DE is a very power too for the development of Angular 4 apps and in this article we covered the testing feature of Angular IDE.