Setting Up & Using Fake Rest API with Angular 4
When developing Angular applications, sometimes you don’t have the REST APIs ready to be used for testing purpose. To solve this problem, Json server comes to the rescue. In this article, you will learn how to Setup & use fake Rest API with Angular 4. In the tutorial we will also learn –
- Introduction to JSON server
- Creating an Angular project
- Installing JSON server with existing Angular project
- Setting up db.json file
- Working with HTTP module
- Creating an Angular Component
- Creating a db.json file & filling it with fake data
- Running the Angular & Json server
- Connecting existing Angular Component with rest API
What is JSON Server
JSON Server is an npm package that allows you to create an API with a database. It is created for front-end developers who need a quick back-end for prototyping and mocking. Using JSON Server you can get a full fake REST API for your Angular application without much effort.
Creating an Angular Project
Let’s get started by firing up our Angular IDE and creating a new Angular project named Jsonandangular4
Now you will see the New Angular Project wizard where you can select the Node.js, NPM and Angular CLI versions. In the New Angular Project wizard, enter JsonandAngulr4 as the project name and select Angular CLI version 1.1.0, Node.js version 7.10.0 and NPM version 4.6.1.
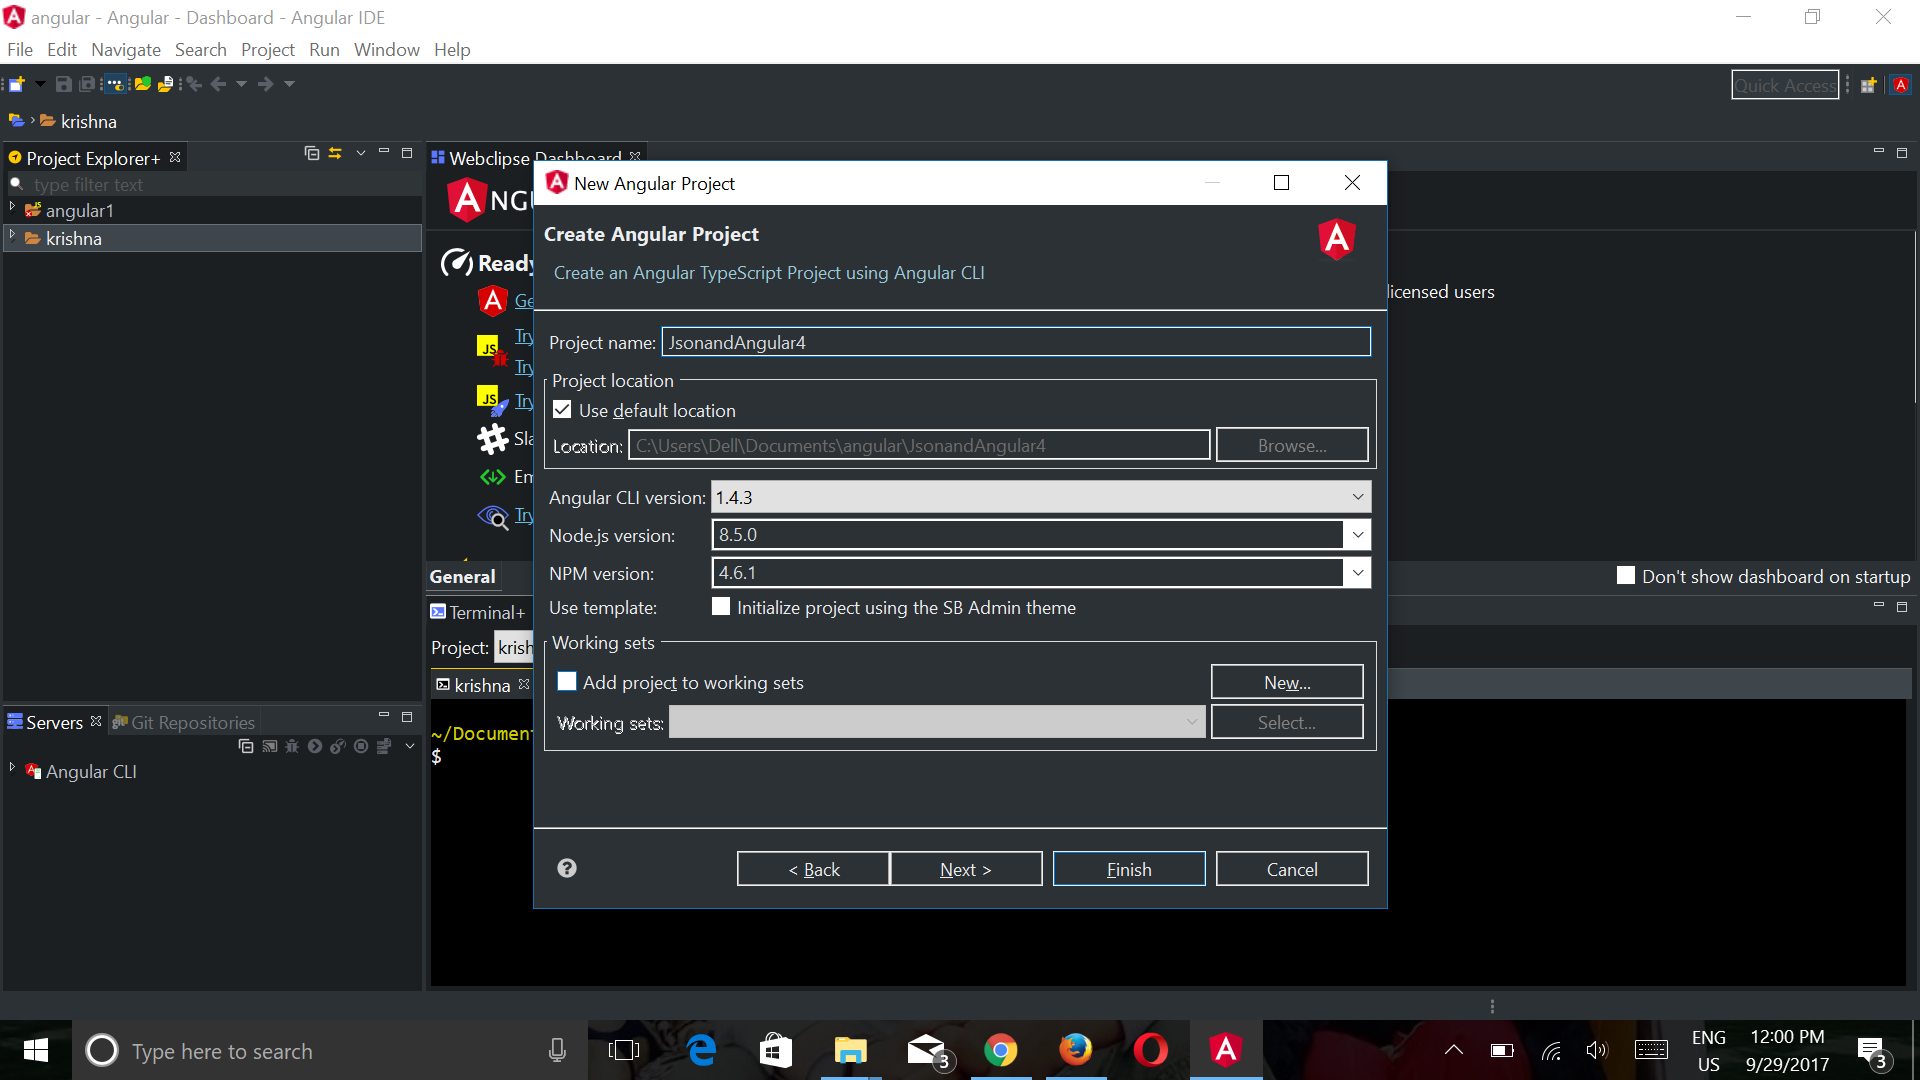
Finally, click Finish to complete the creation of a new Angular 4 project. In the Terminal+ view, you can see several commands being executed by Angular CLI. After the installation of all the modules, we are now ready to continue with our project.
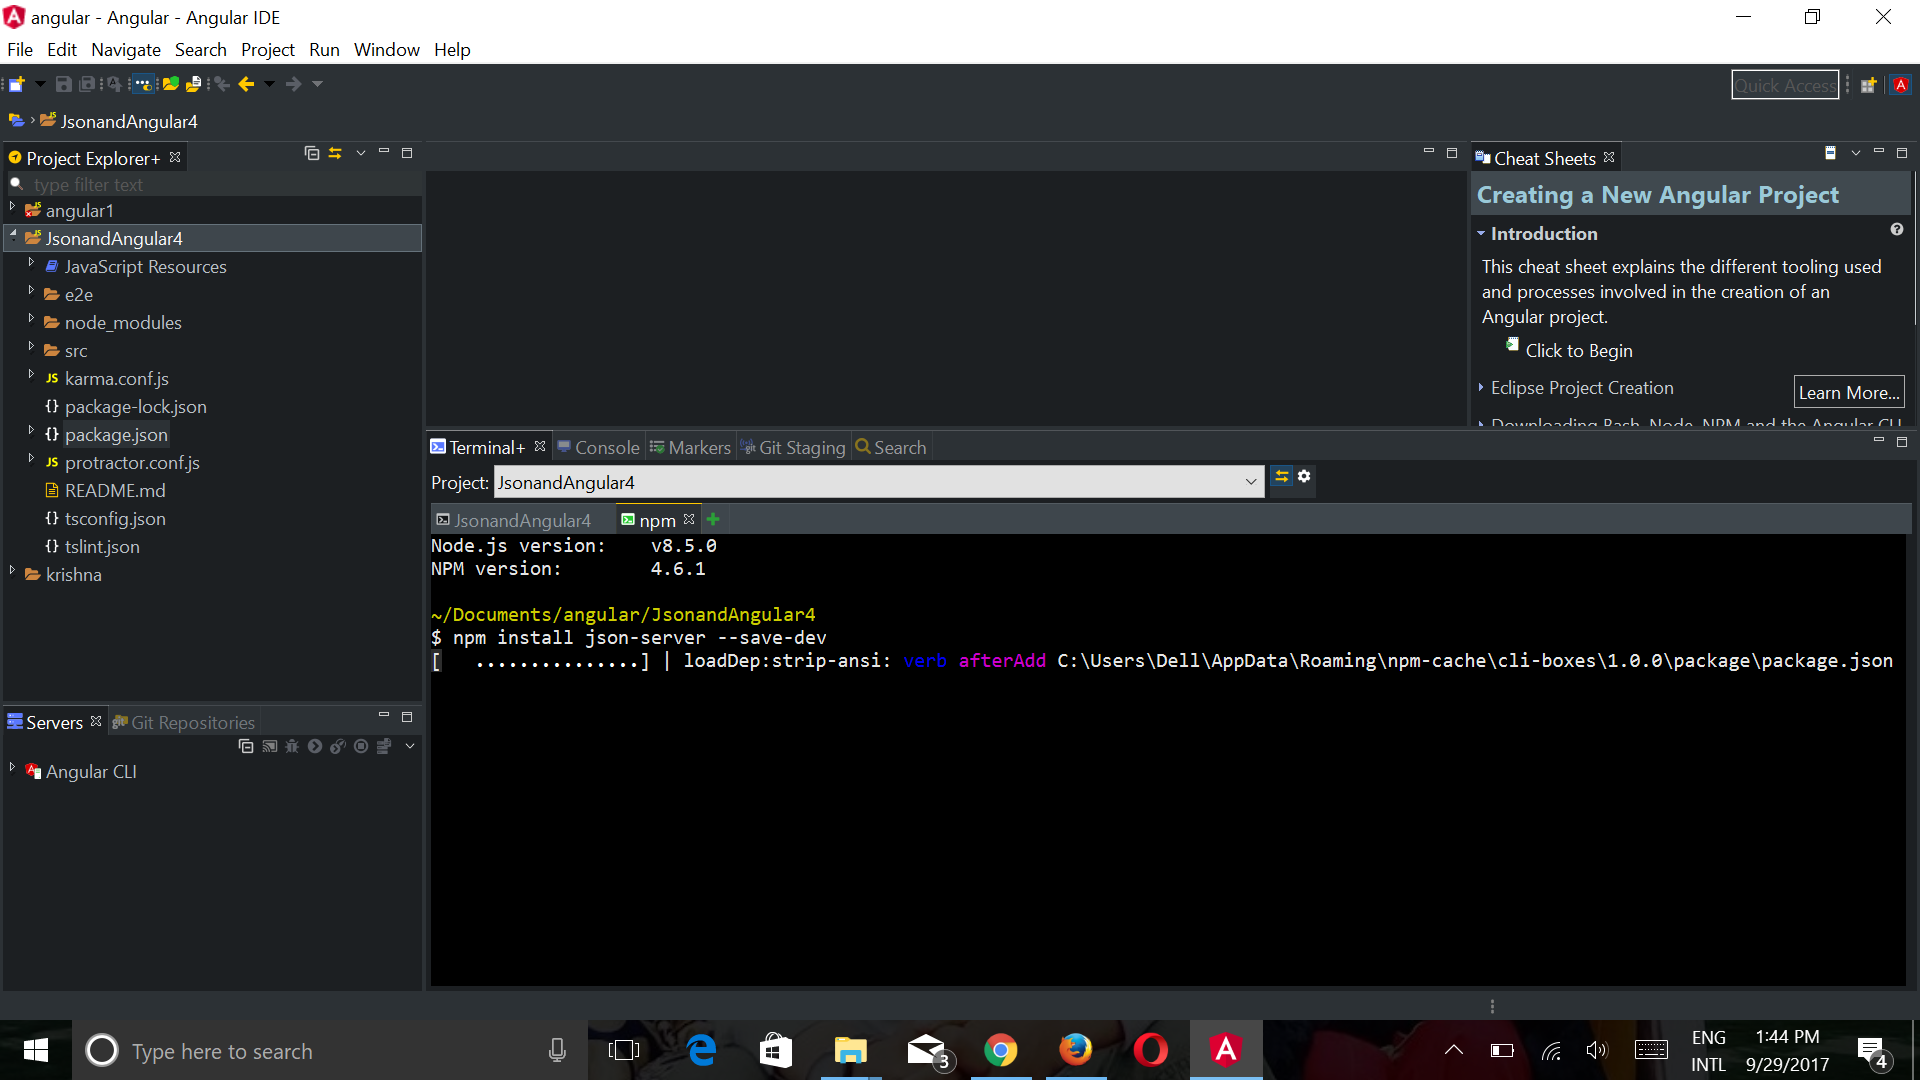
Installing Json server with existing Angular project
Angular IDE has a terminal view from which we can execute commands. So from the menu, select Window, then Show View and then click Terminal+. In the opened terminal, type the following command.
npm install -g json-server
After successfully installing Json server, add the following command to the scripts section in the package.json file, to run the JSON server.
"json-server": "json-server --watch db.json --port 3004"
Script section of Package.json file will look like this –
{
 "name": "jsonand-angular4",
 "version": "0.0.0",
 "license": "MIT",
 "scripts": {
 "ng": "ng",
 "start": "ng serve",
 "build": "ng build",
 "test": "ng test",
 "lint": "ng lint",
 "json-server": "json-server --watch db.json --port 3004",
 "e2e": "ng e2e"
 },
Starting the Angular & JSON Server
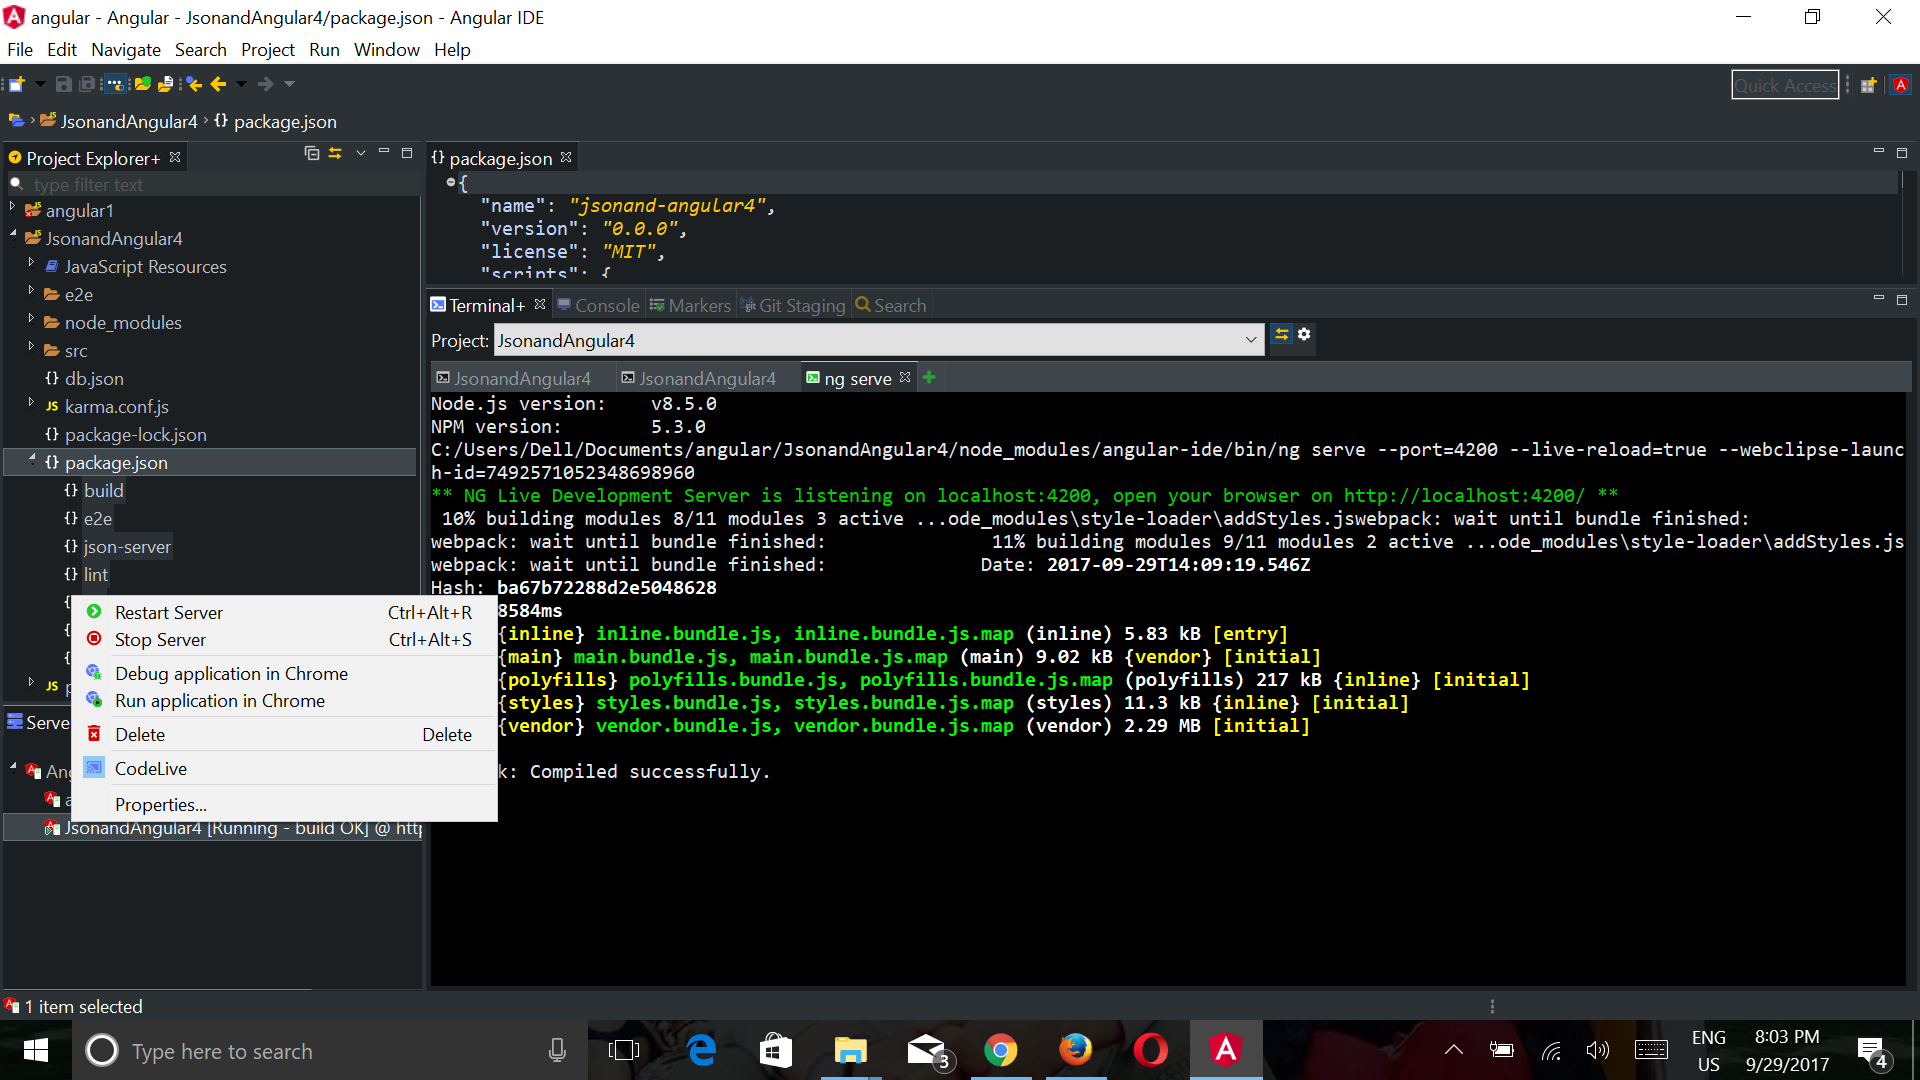
Starting the Angular server
There is a server view in Angular IDE, as shown in the below image. To open it – Window > Show View > Server. Right click on your project (here Jsonandangular4). Angular IDE serves the application on localhost port 4200, by default, so open up http://localhost:4200 in your browser to see the running app.
Starting the JSON Server and creating db.json file
Run the following command (in Terminal+) to start the JSON server:
$ npm run json-server
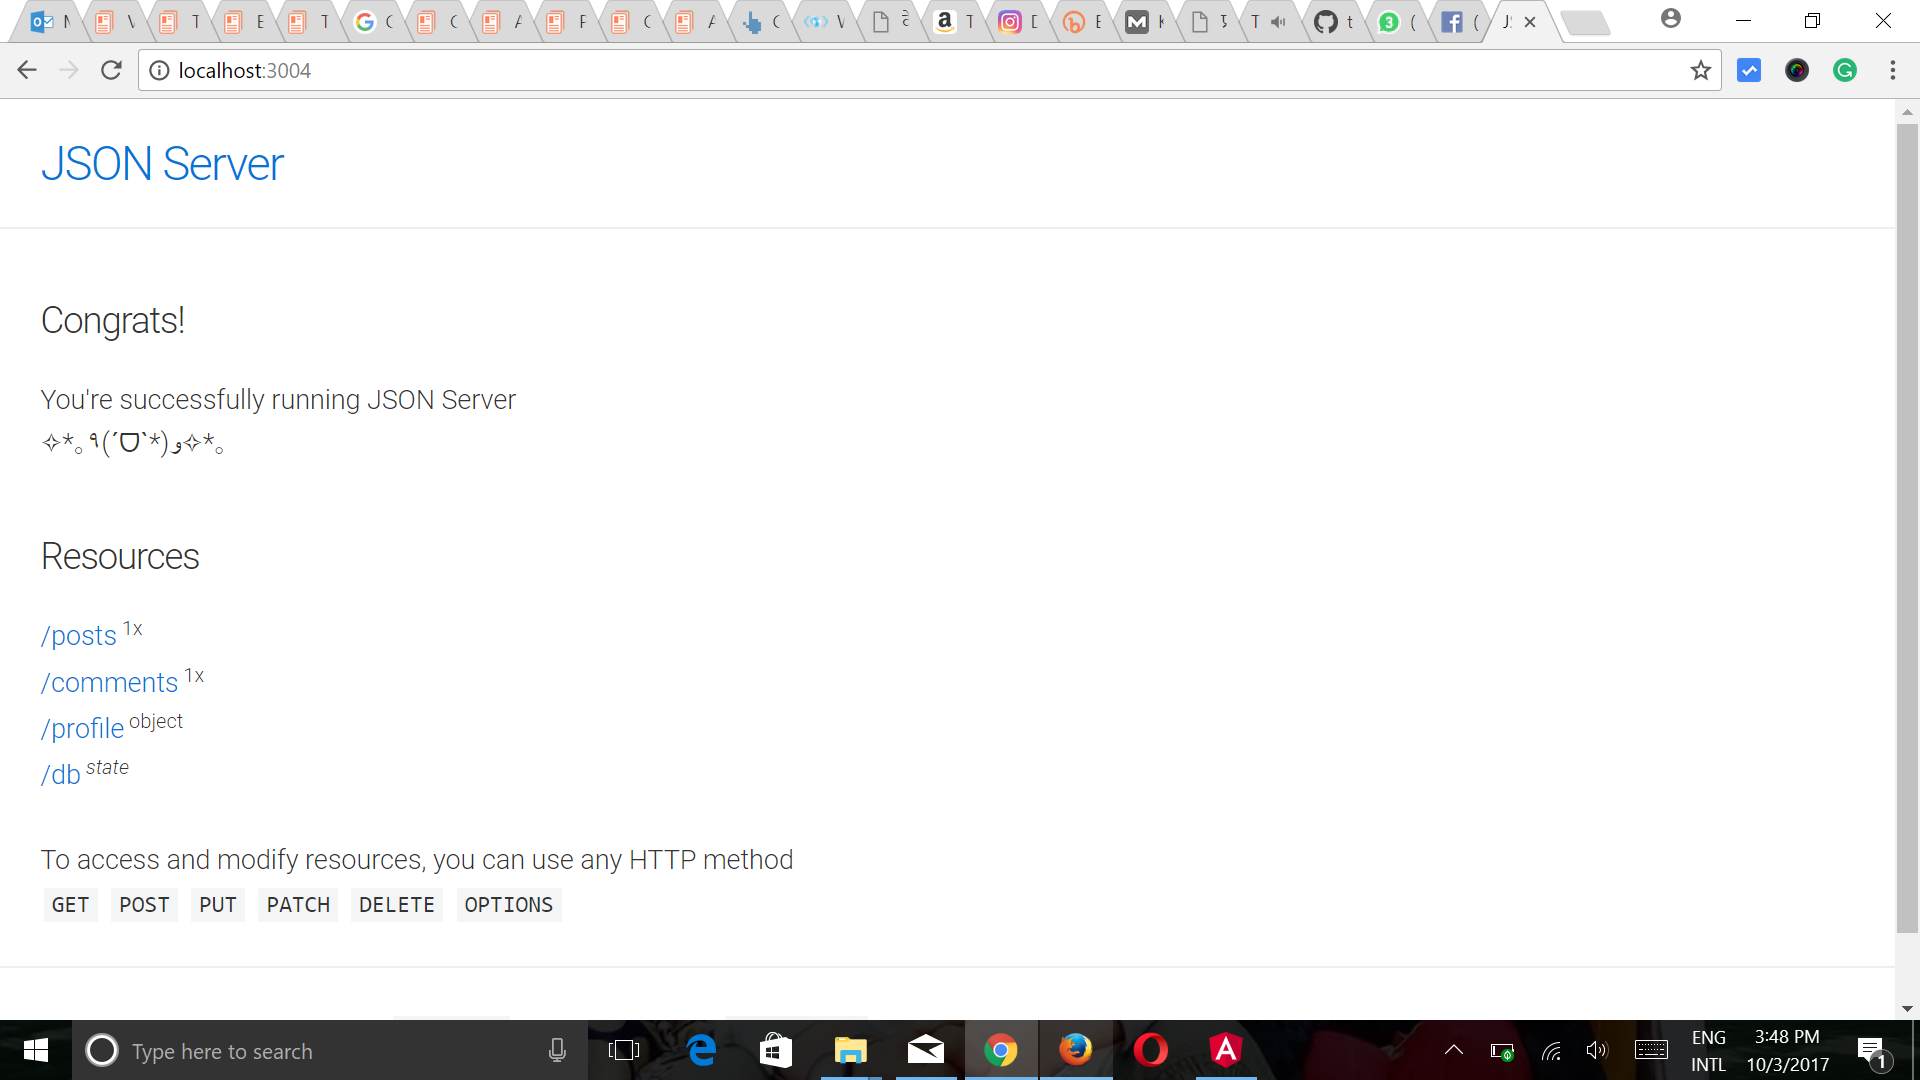 As you can see in the screenshot above, our Json server is now running successfully.
- Tip – After running the command, Angular Ide will automatically create the db.json file in root directory for you. as we mentioned
"json-server": "json-server --watch db.json --port 3004",in the package.json file. - Tip – You can also manually create Db.json file in root directory.
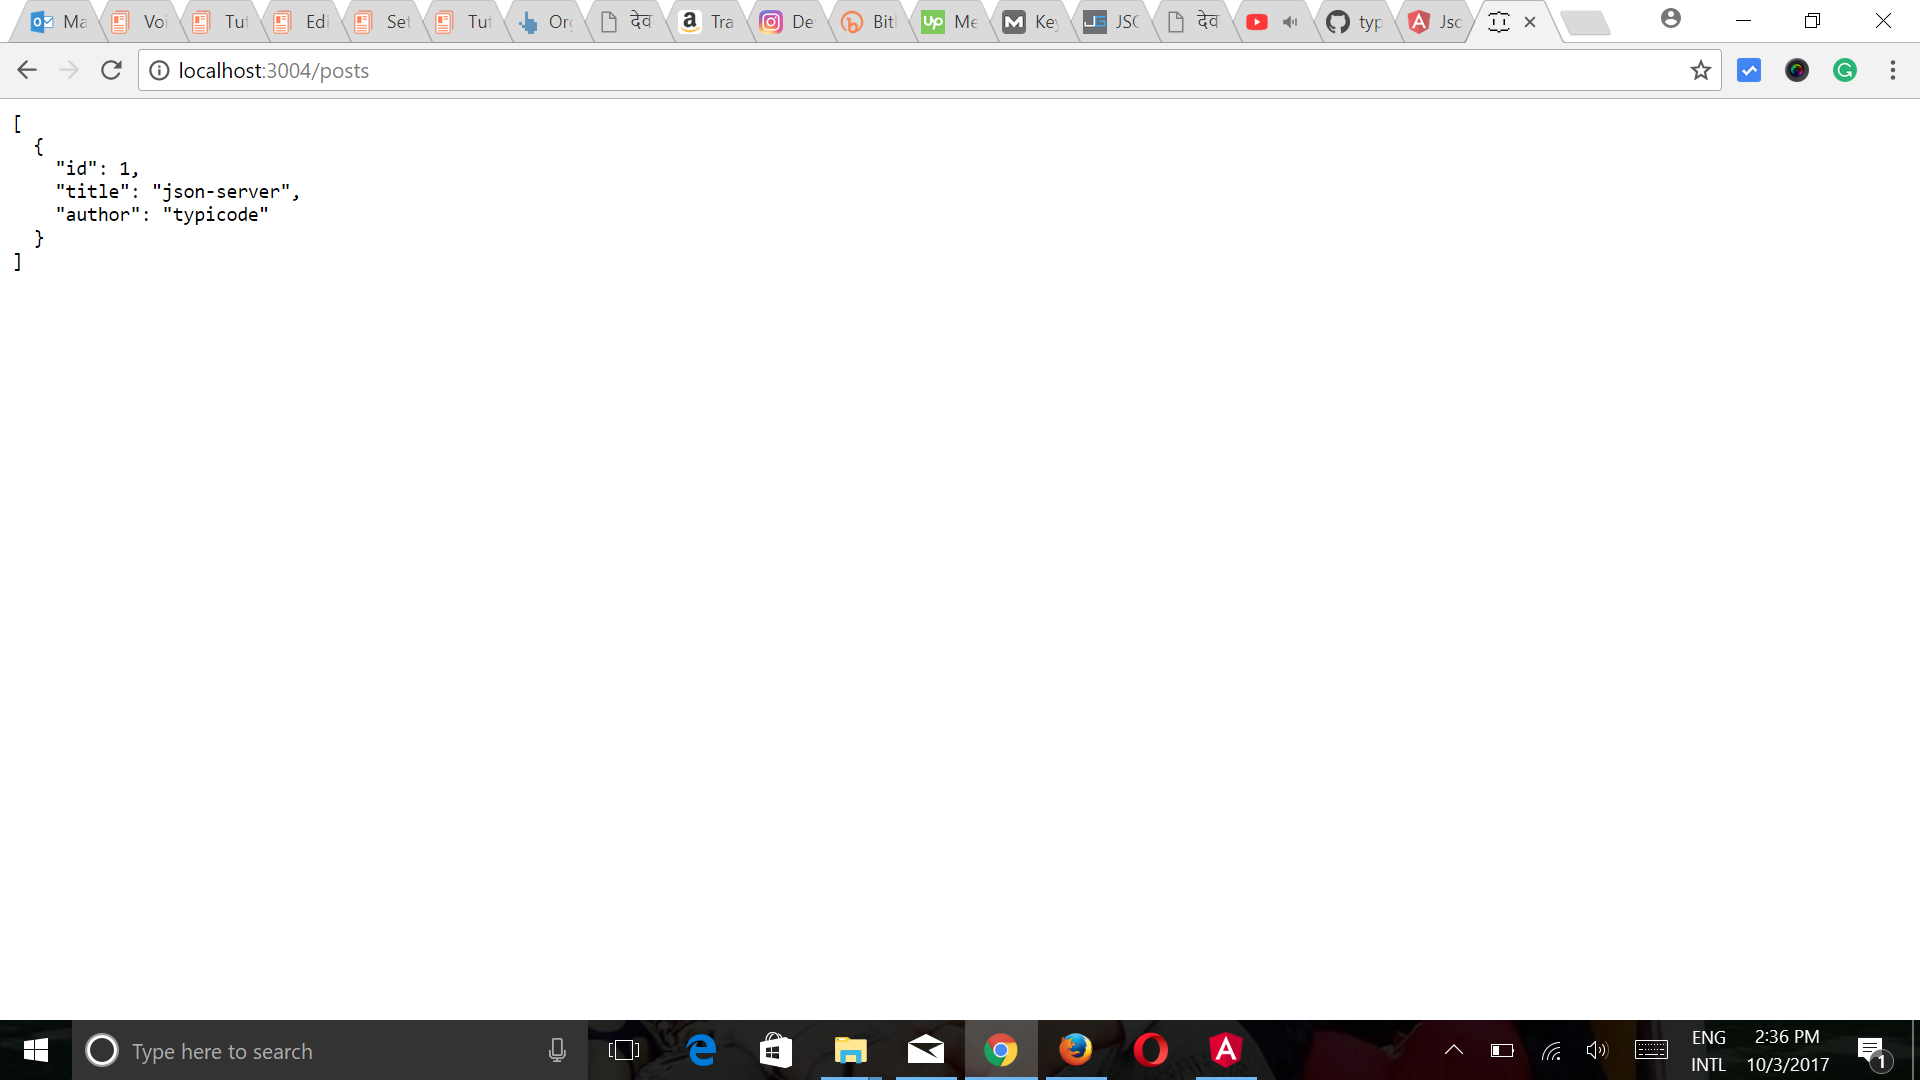
Our db.json file should look like this –
{
 "posts": [
 {
 "id": 1,
 "title": "json-server",
 "author": "typicode"
 }
 ],
 "comments": [
 {
 "id": 1,
 "body": "some comment",
 "postId": 1
 }
 ],
 "profile": {
 "name": "typicode"
 }
}
Connecting Angular 4 app with Rest API
We have our Fake Rest API ready. Let us write some code to communicate with the API. We need the @angular/http package to work with the HTTP client. Angular IDE would have already downloaded the npm package when we created the project.
Tip – Db.json File stores The data which we fetch using the rest API.
Now import HttpModule in our application module (src/app/app.module.ts) and add the HttpModule to the imports array in the @NgModule() decorator. Code In the app.module.ts will look like this –
import { BrowserModule } from '@angular/platform-browser';
import { NgModule } from '@angular/core';

import { AppComponent } from './app.component';
import { HttpModule } from '@angular/http';


@NgModule({
 declarations: [
 AppComponent
 ],
 imports: [
 BrowserModule,
 HttpModule
 ],
 providers: [],
 bootstrap: [AppComponent]
})
export class AppModule { }
Now we will create a dunebook class under the app/src folder, which will represent the object structure.
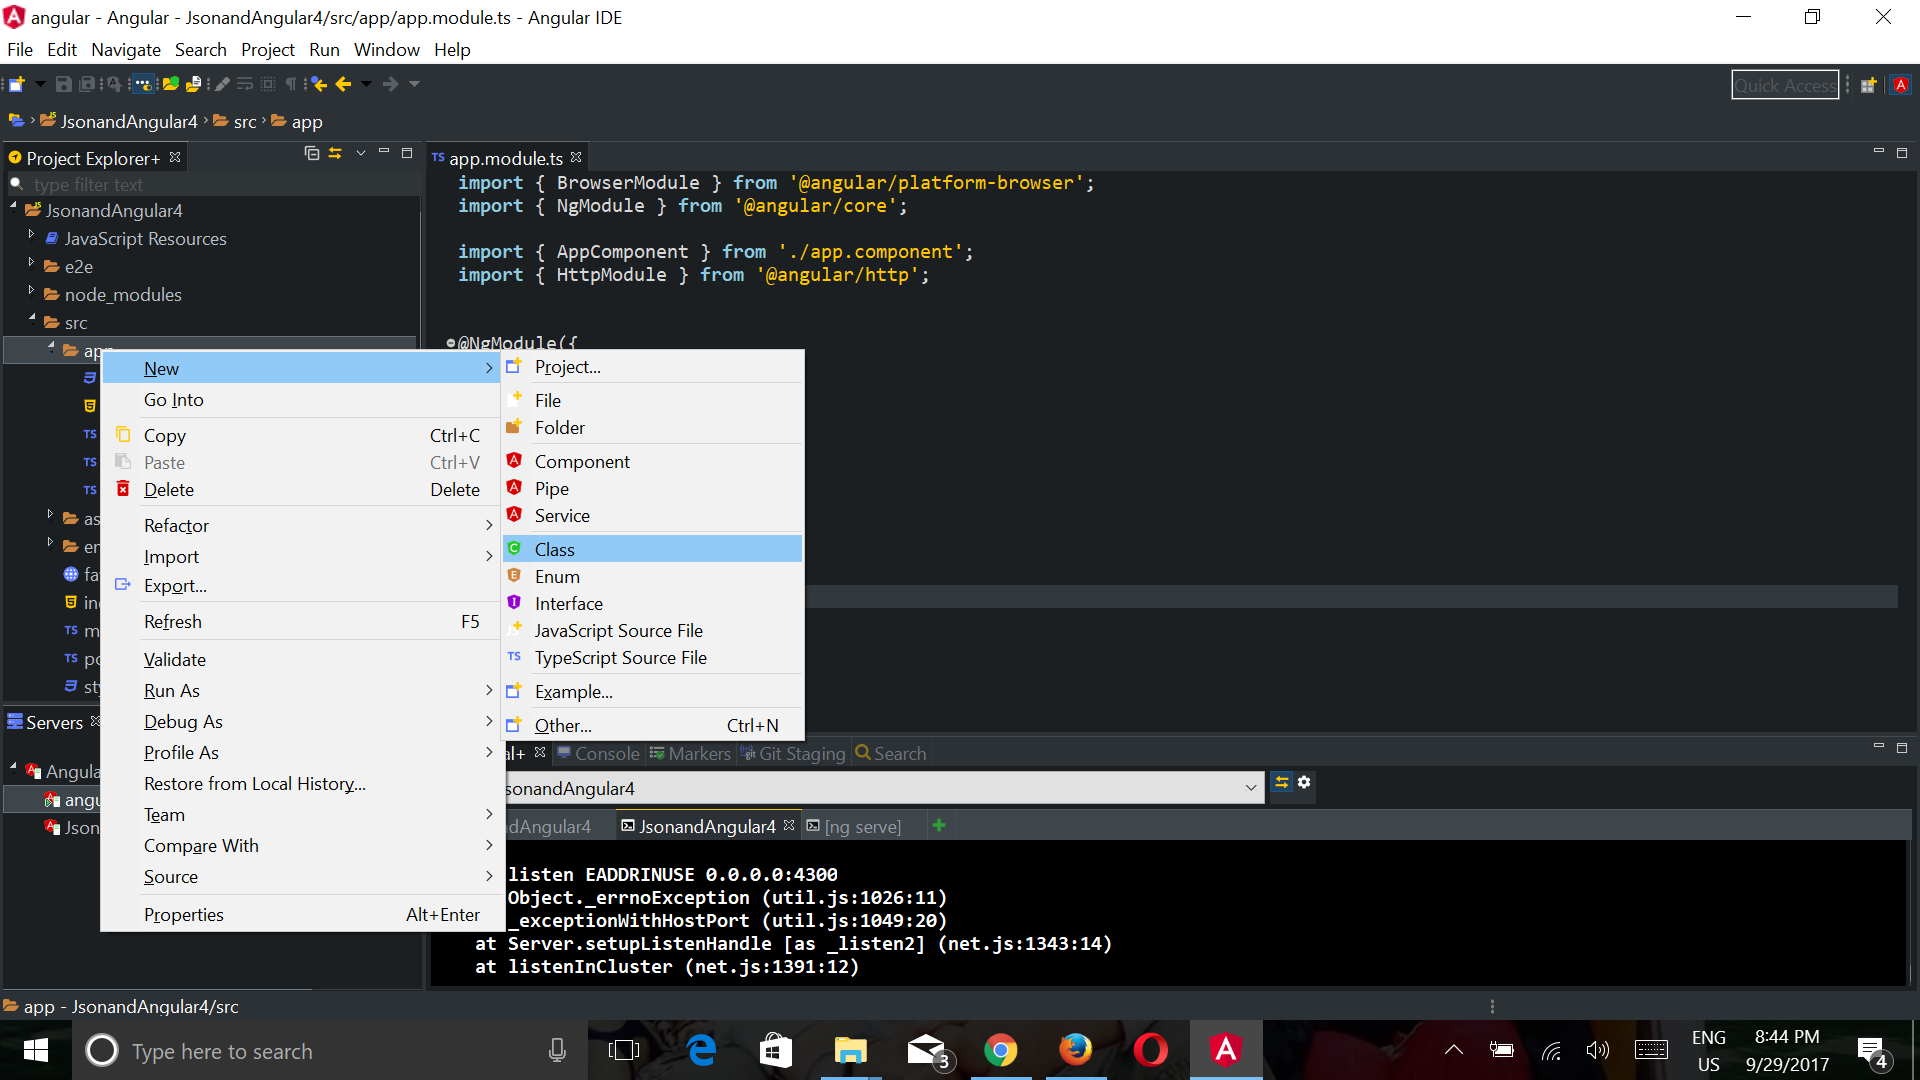
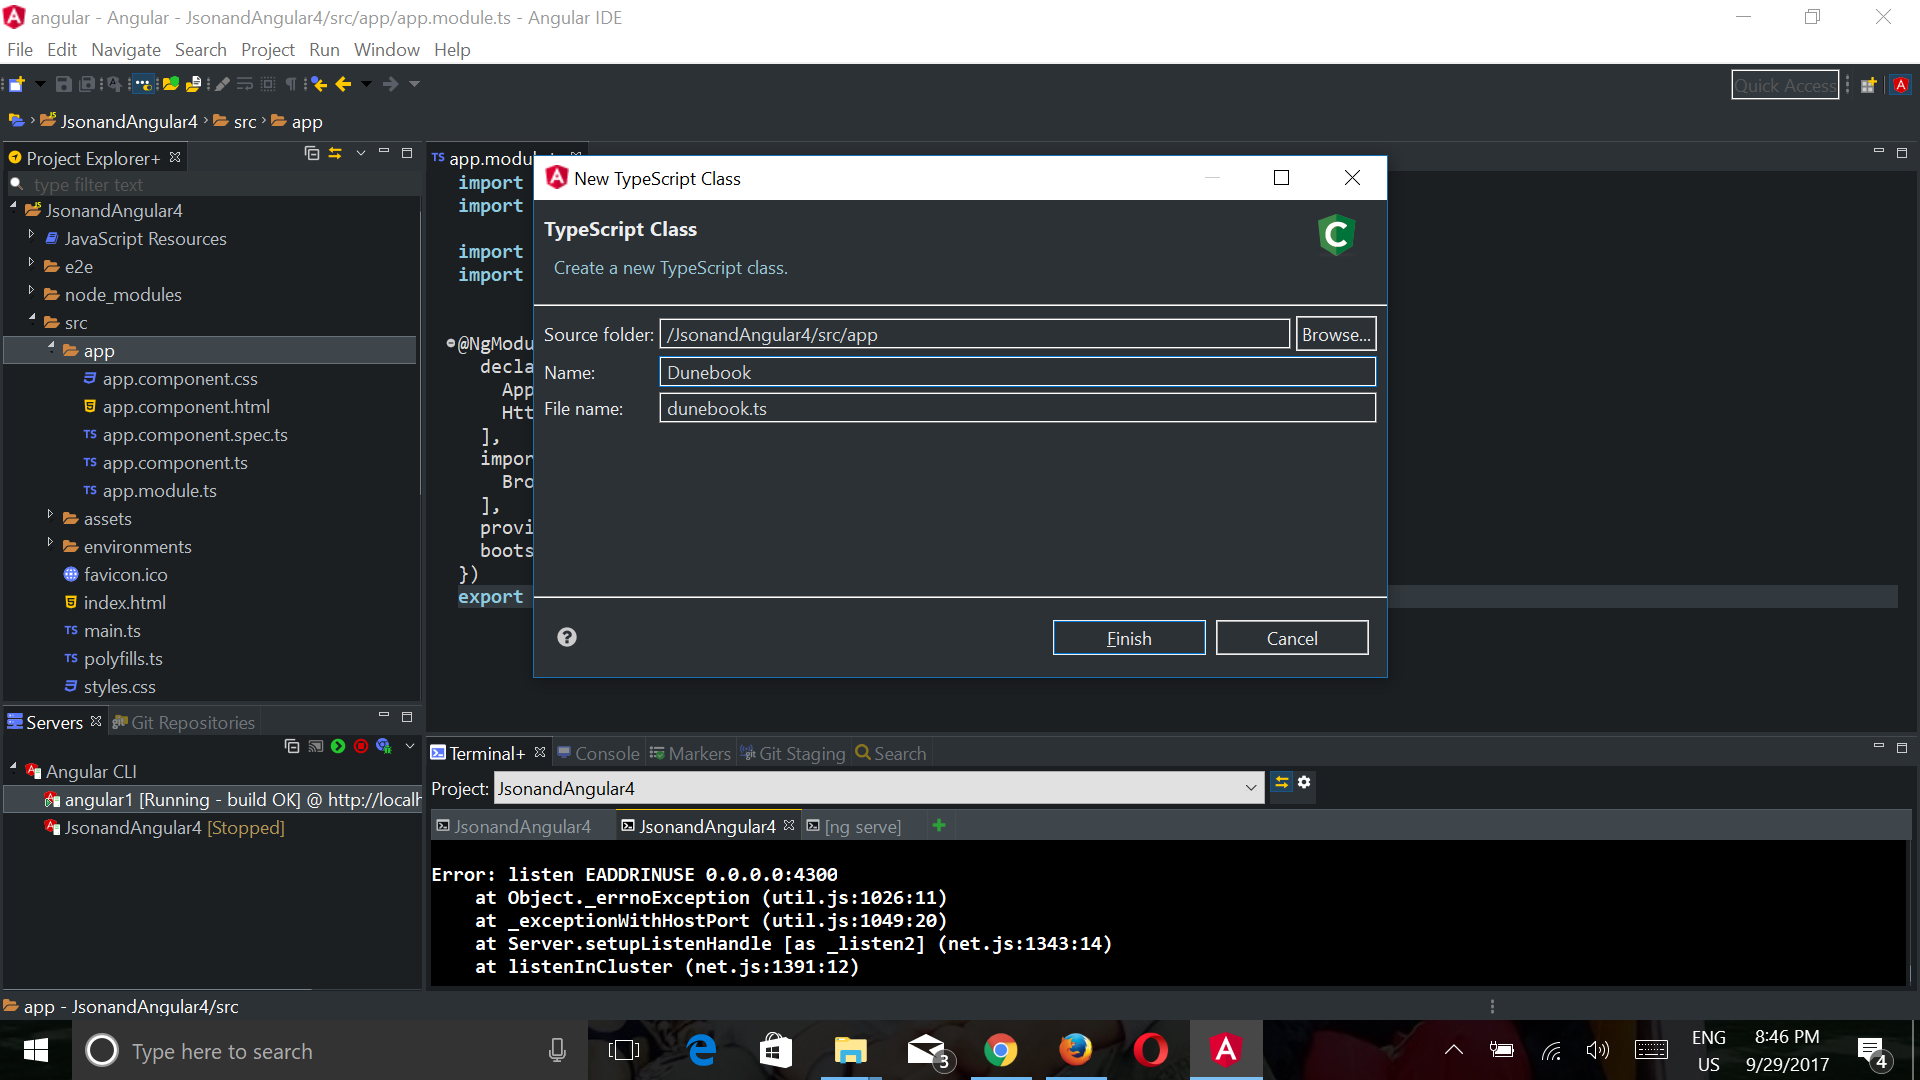
Add the following code to src/app/dunebook.ts –
export class Dunebook {
  id: number;
  title: string;
  author: string;
}
now we will update our template file (app.component.html).
<button (click)="getDunebooksData()">Get Data</button>
<pre>{{DunebookList | json}}</pre>
And finally, update the App.Component.ts with the following code –
import { Component } from '@angular/core';
import { Dunebook } from './Dunebook';
import { Http } from '@angular/http';

@Component({
 selector: 'app-root',
 templateUrl: './app.component.html',
 styleUrls: ['./app.component.css']
})
export class AppComponent {
 dunebookList: Dunebook[];

constructor(private http: Http) { }
 getDunebookData() {
 this.http.get('http://localhost:3004/posts')
 .subscribe(res => this.dunebookList =
 res.json() as Dunebook[]);
}

}
Let’s understand the code snippet above
First, we imported the HTTP client, available as Http service in the @angular/http package and injected it via dependency injection into a constructor. Then we are calling our API using the GET method. As Angular Http service is Observable, so we need to subscribe to it in order to receive the response. Now if we click on the button, we will receive post information in JSON format from the API.
Open http://localhost:4200 in your browser & you will see a screen like below.
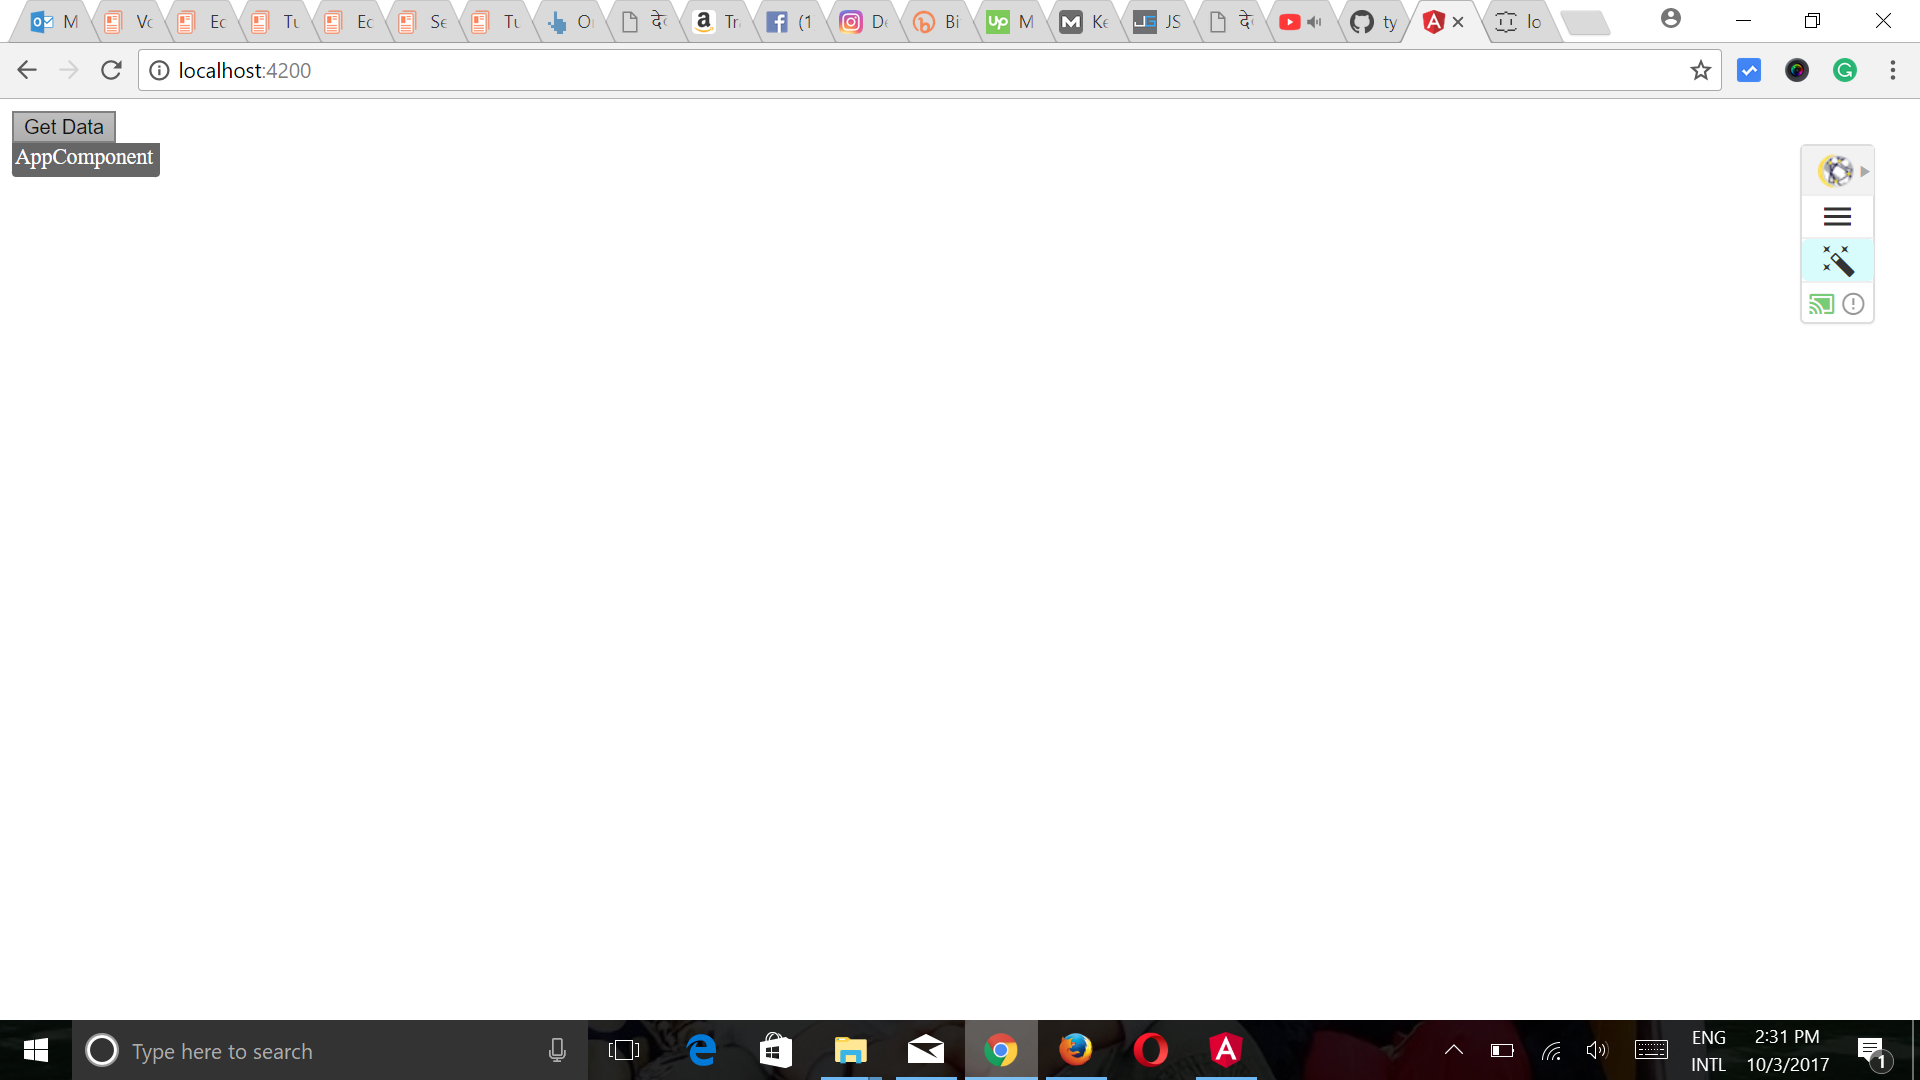
After clicking on Get Data button you will see output like this –
We have now successfully connected our Angular app to Json Rest API.
Did you know?
Most of the Angular 2+ Tutorials of dunebook.com were created using Angular IDE. The Angular IDE by Webclipse is built specifically for Angular 2+. It is simple for beginners; powerful for experts. It is Available as a stand-alone IDE, as part of their Eclipse plugin suite, Webclipse, or part of their robust, Full Stack IDE, MyEclipse 2017
This IDE supports advanced editing of TypeScript 2.0 which improves your development effectively. Some cool features of Angular IDE are Listed Below.
- Real-time validation and display of errors as you type code.
- Auto-completion of code across your project.
- Syntax-aware source colouring and occurrence highlighting.
- Block and full-file formatting with advanced settings.
- Integrated support for TypeScript debugging
- Built first for tsconfig.json management.